 Nina Johnson
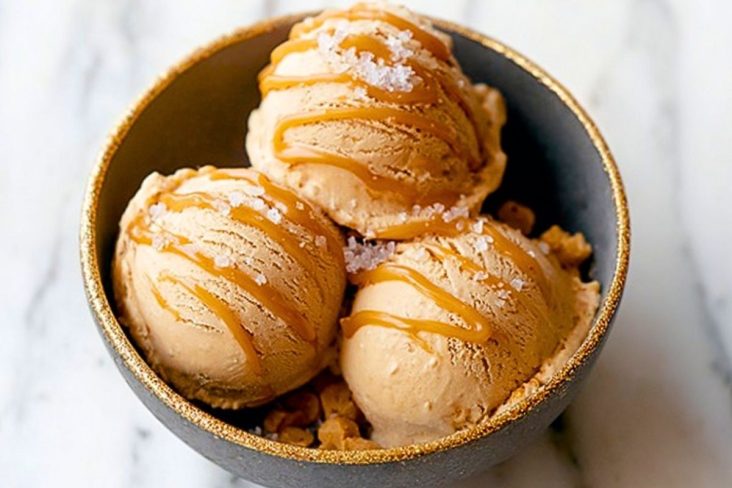
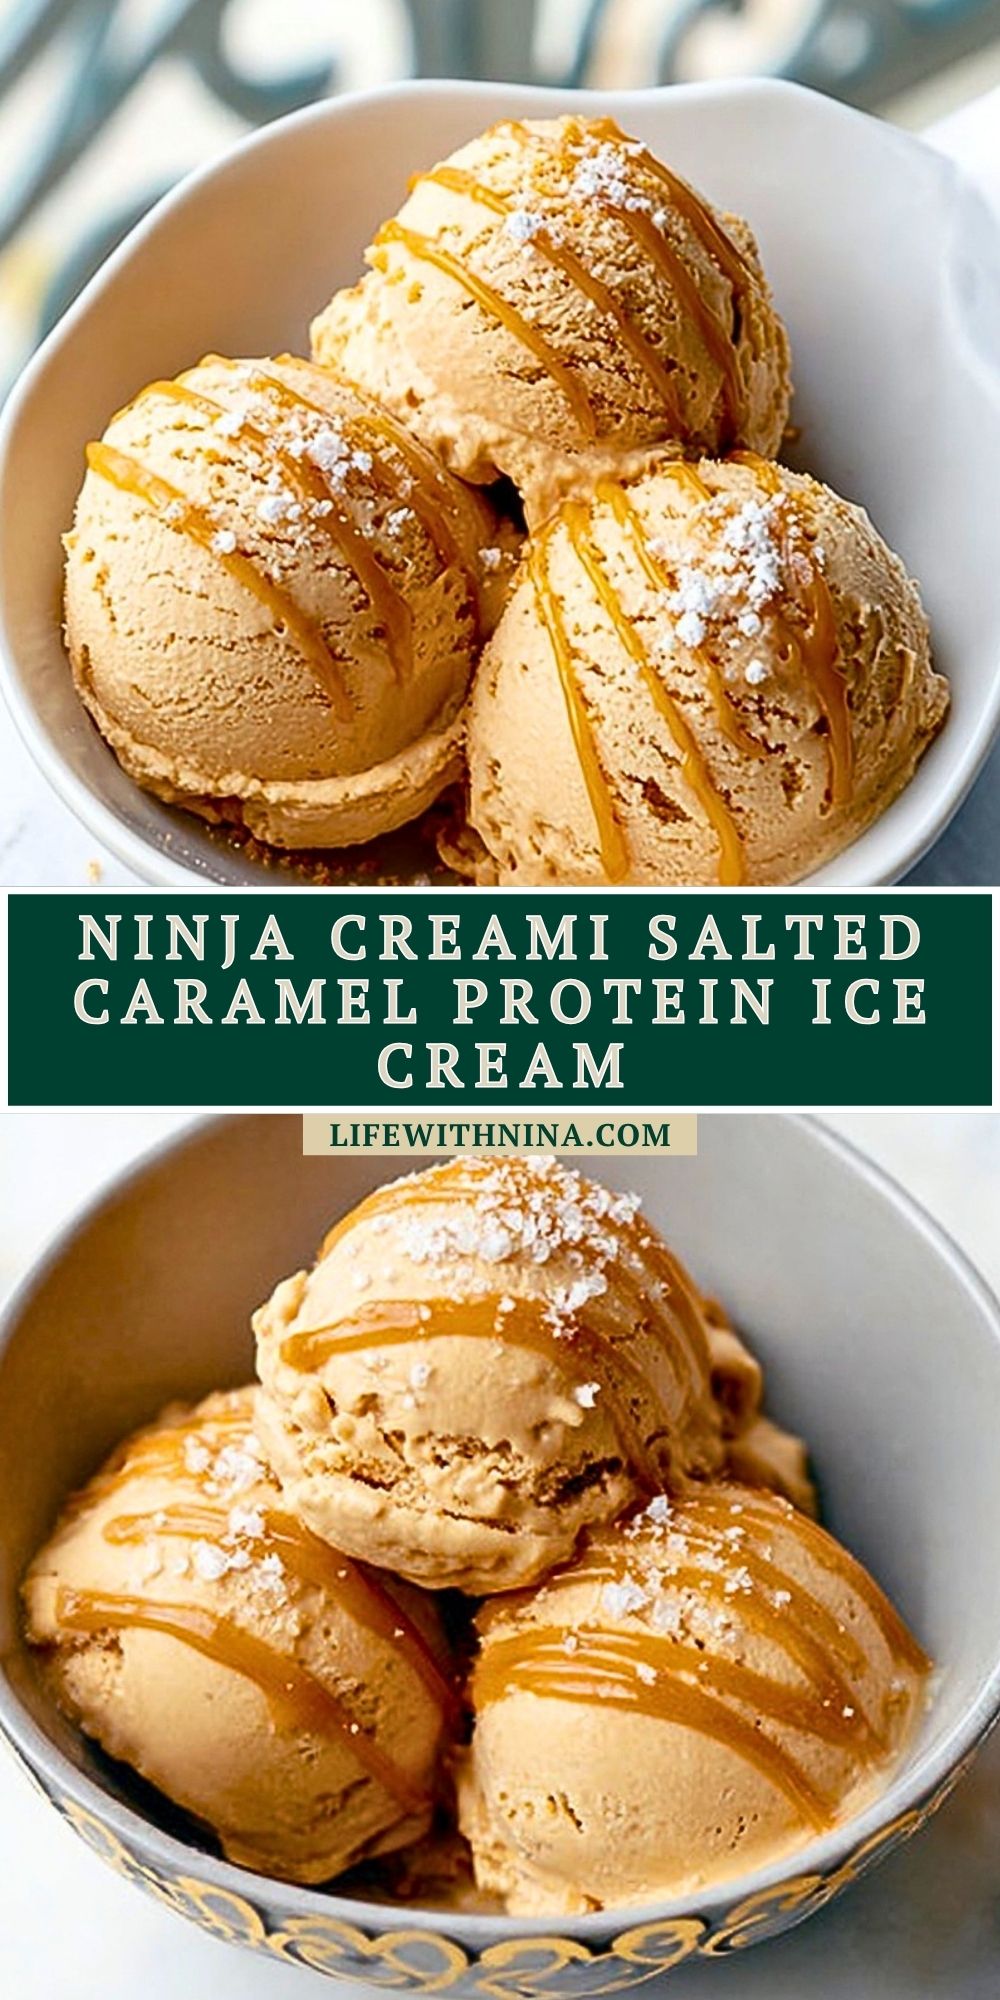
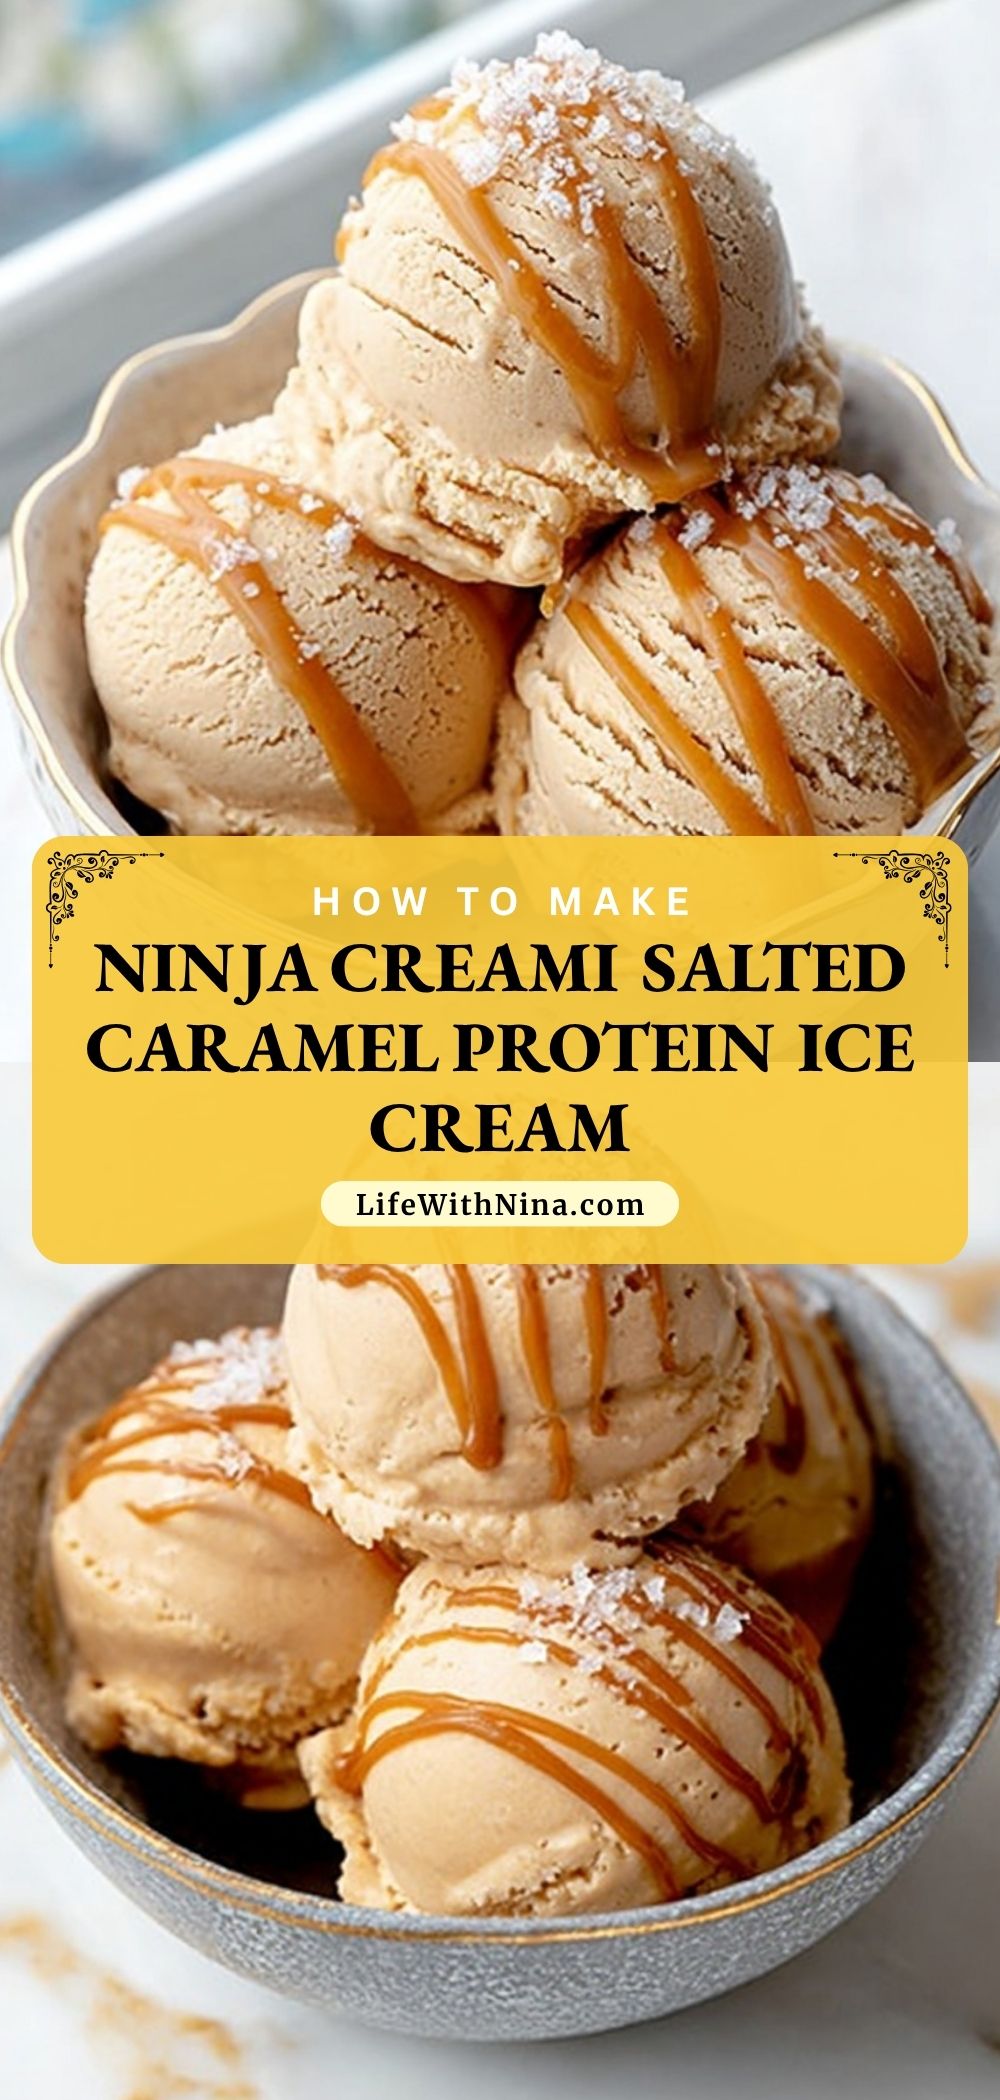
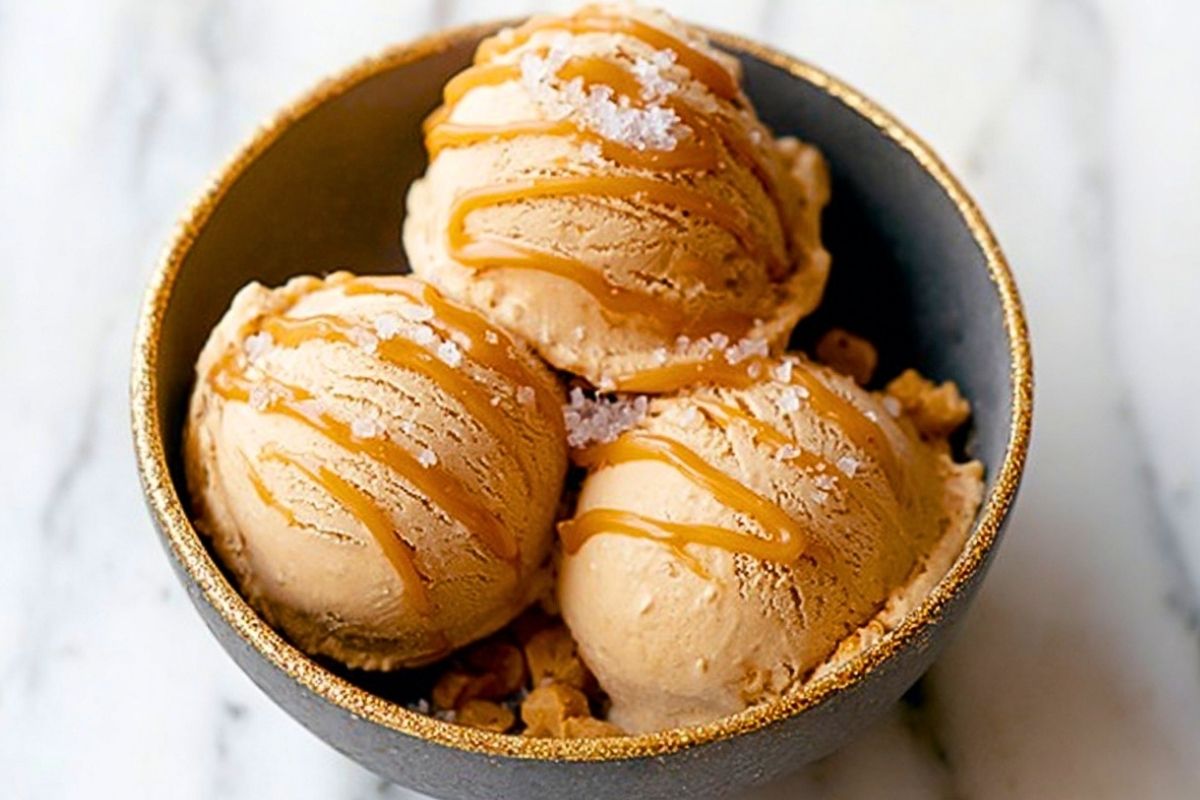
Creamy, sweet, salty, and packed with that rich caramel flavor everyone loves, this Ninja Creami Salted Caramel Protein Ice Cream is the kind of treat that makes healthy dessert feel exciting. It has a smooth, scoopable texture with a balanced sweetness that tastes indulgent while still fitting into a high-protein routine.
This is the perfect frozen dessert for busy days when you want something cold and satisfying without making a complicated recipe. With a handful of simple ingredients and the help of the Ninja Creami, you can turn an easy protein base into a homemade ice cream that feels like a coffee shop and ice cream parlor favorite in one bowl.
What Makes Ninja Creami Salted Caramel Protein Ice Cream So Good?
What makes this recipe stand out is the contrast of flavors and texture. The caramel brings deep sweetness, the salt keeps everything from tasting flat, and the protein base gives the ice cream body and richness. The Ninja Creami transforms the frozen pint into a dessert that feels thick, creamy, and spoonable instead of icy.

Ingredients for the Ninja Creami Salted Caramel Protein Ice Cream
The ingredients in this recipe each play an important role in building flavor, texture, and that signature creamy finish.
Protein shake
This is the base of the recipe and provides the creamy liquid foundation while also boosting the protein content.
Sugar-free caramel pudding mix
This helps thicken the mixture and gives the ice cream a smoother, more scoopable texture with added caramel flavor.
Caramel sauce
A little caramel sauce deepens the flavor and gives the finished ice cream that classic dessert-shop taste.
Sea salt
Salt is what turns plain caramel into salted caramel. It sharpens the sweetness and gives the flavor more depth.
Vanilla extract
Vanilla rounds out the mixture and helps the caramel taste warmer and more complete.
Milk
A splash of milk helps loosen the base if needed and improves the final texture after spinning.
Flaky sea salt for topping
This finishing touch adds a light crunch and makes each bite taste more balanced and dessert-like.
How To Make the Ninja Creami Salted Caramel Protein Ice Cream
This recipe comes together easily, but a few simple steps help you get the best texture.
Step 1: Mix the base
Whisk the protein shake, sugar-free caramel pudding mix, caramel sauce, sea salt, and vanilla extract together until the mixture is smooth and fully combined. Make sure there are no dry pockets of pudding mix left.
Step 2: Freeze the pint
Pour the mixture into your Ninja Creami pint container. Secure the lid and freeze on a level surface for at least 24 hours so the base becomes completely solid.
Step 3: Spin the ice cream
Remove the pint from the freezer, place it into the outer bowl, and process it on the Lite Ice Cream or Ice Cream setting depending on your preferred texture and your model.
Step 4: Check the texture
After the first spin, the mixture may look crumbly. That is normal. Add 1 to 2 tablespoons of milk, then respin until the texture turns creamy and smooth.
Step 5: Add extra caramel flavor
If you want more caramel throughout, create a small hole in the center, add a little caramel sauce, and run the mix-in setting or gently swirl it in by hand.
Step 6: Scoop and finish
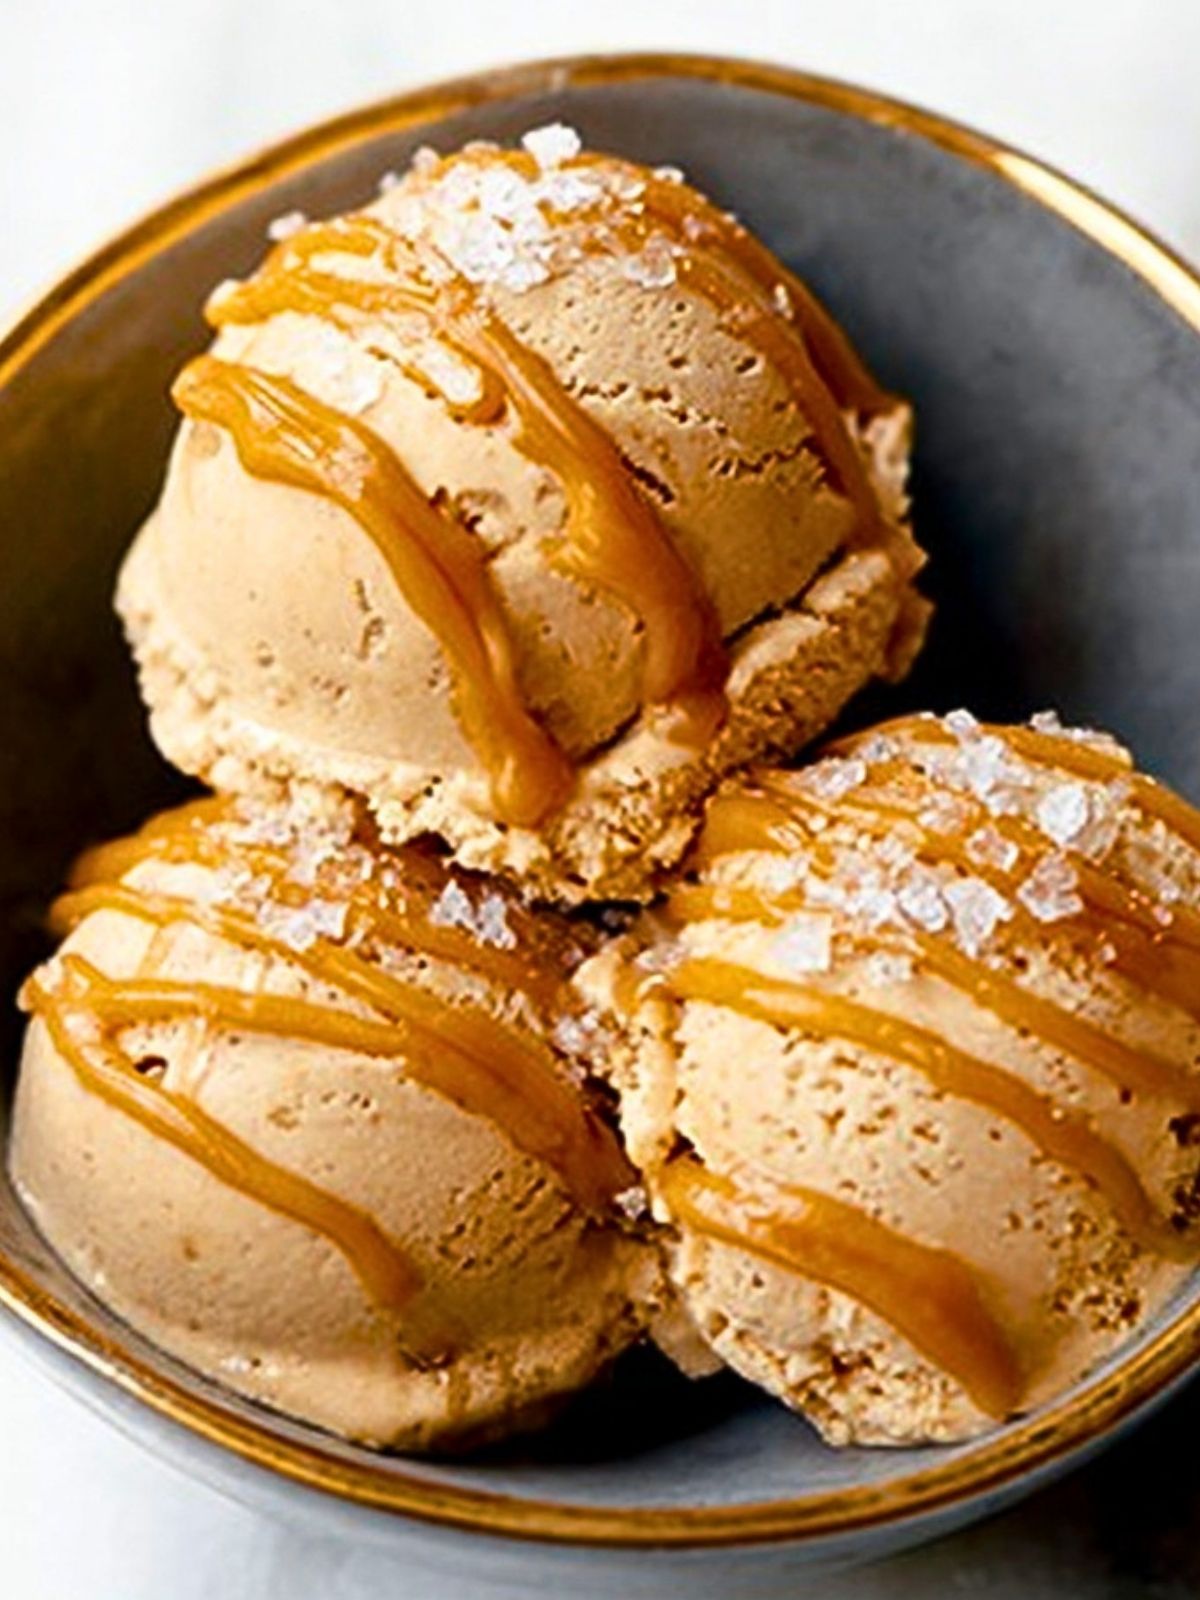
Serve the ice cream right away with a drizzle of caramel sauce and a pinch of flaky sea salt on top for the full salted caramel experience.
Best Ways to Serve and Store Ninja Creami Salted Caramel Protein Ice Cream
Serve this ice cream right after spinning for the creamiest texture. It is delicious on its own, but you can also top it with crushed graham crackers, chopped nuts, extra caramel drizzle, or a dusting of cinnamon for a more dessert-style finish.
To store leftovers, smooth the top of the pint and place it back in the freezer with the lid on. When you are ready to enjoy it again, let it sit out for a few minutes and respin if needed to bring back the creamy texture.
Frequently Asked Questions
Can I use a different flavor of protein shake?
Yes. Vanilla works especially well because it keeps the caramel flavor front and center, but caramel or even coffee protein shakes can also be delicious.
Why is my Ninja Creami ice cream crumbly after the first spin?
That usually happens when the base is very cold and low in fat. A small splash of milk and a respin will usually fix it quickly.
Can I make this recipe even higher in protein?
Yes. You can use a high-protein ready-to-drink shake or add a small amount of protein powder, as long as the mixture stays smooth and balanced.
Do I need the pudding mix?
The pudding mix really helps with texture, especially in lighter frozen desserts. It makes the final result creamier and less icy.
Can I make this recipe dairy-free?
Yes, if you use a dairy-free protein shake, dairy-free milk, and a caramel product that matches your needs.
What toppings go best with salted caramel ice cream?
Flaky sea salt, crushed cookies, chopped pecans, mini chocolate chips, or extra caramel drizzle all pair well with this flavor.
Want More Frozen Dessert Ideas?
If you love this Ninja Creami Salted Caramel Protein Ice Cream, you might also enjoy a few other sweet treats from Life with Nina:
- Refreshing homemade peach sorbet for a fruity frozen dessert that feels light and fresh.
- Blueberry swirl yogurt bites for an easy cold snack with creamy texture and berry flavor.
- No-bake orange creamsicle pie if you are craving a chilled dessert with a bright citrus twist.
- Pineapple cheese pie for a creamy make-ahead dessert with tropical flavor.
- Strawberry crunch cheesecake salad when you want a fluffy dessert packed with fun texture.
Save This Pin + Share Your Results
📌 Save this recipe to your Pinterest dessert board so you can come back to it anytime.
And let me know how yours turned out. Did you add extra caramel, mix in cookie crumbles, or keep it simple with flaky sea salt on top?
I love seeing how everyone makes recipes their own. You can also find even more sweet recipe inspiration on Life with Nina on Pinterest.
Ninja Creami Salted Caramel Protein Ice Cream
- Prep Time: 5 minutes
- Cook Time: 0 minutes
- Total Time: 24 hours 5 minutes
- Yield: 2 servings 1x
- Category: Dessert
- Method: Ninja Creami
- Cuisine: American
Description
This Ninja Creami Salted Caramel Protein Ice Cream is a creamy, high-protein frozen dessert with rich caramel flavor and the perfect sweet-salty finish. It is an easy recipe for a healthy snack, quick dessert, and fun food idea when you want better-for-you ice cream at home. Perfect for easy dessert nights, high-protein treats, summer food ideas, and simple Ninja Creami recipes, this smooth and satisfying ice cream is one you will want to make again and again.
Ingredients
1 bottle vanilla protein shake
1 tablespoon sugar-free caramel pudding mix
1 tablespoon caramel sauce
1/8 teaspoon sea salt
1/2 teaspoon vanilla extract
2 tablespoons milk
1 teaspoon flaky sea salt
1 tablespoon caramel sauce for topping
Instructions
1. In a mixing cup, whisk together the vanilla protein shake, sugar-free caramel pudding mix, 1 tablespoon caramel sauce, sea salt, and vanilla extract until completely smooth.
2. Pour the mixture into a Ninja Creami pint container and place the lid on tightly.
3. Freeze the pint on a flat surface for 24 hours.
4. Remove the pint from the freezer, place it into the outer bowl, and spin on the Lite Ice Cream setting.
5. If the mixture looks crumbly after the first spin, add 2 tablespoons milk and respin until smooth and creamy.
6. Scoop into bowls and finish with the remaining caramel sauce and flaky sea salt before serving.
Notes
Freeze the pint fully flat so the texture spins evenly.
A respin with milk helps create the smoothest, creamiest finish.
Add the flaky sea salt at the end so it keeps its light crunch.
Nutrition
- Serving Size: 1 serving
- Calories: 190
- Sugar: 10g
- Sodium: 430mg
- Fat: 4g
- Saturated Fat: 2g
- Unsaturated Fat: 1.5g
- Trans Fat: 0g
- Carbohydrates: 15g
- Fiber: 1g
- Protein: 24g
- Cholesterol: 10mg
Keywords: Ninja Creami salted caramel protein ice cream, high protein ice cream, easy dessert, healthy snack, frozen dessert, caramel ice cream, Ninja Creami recipe