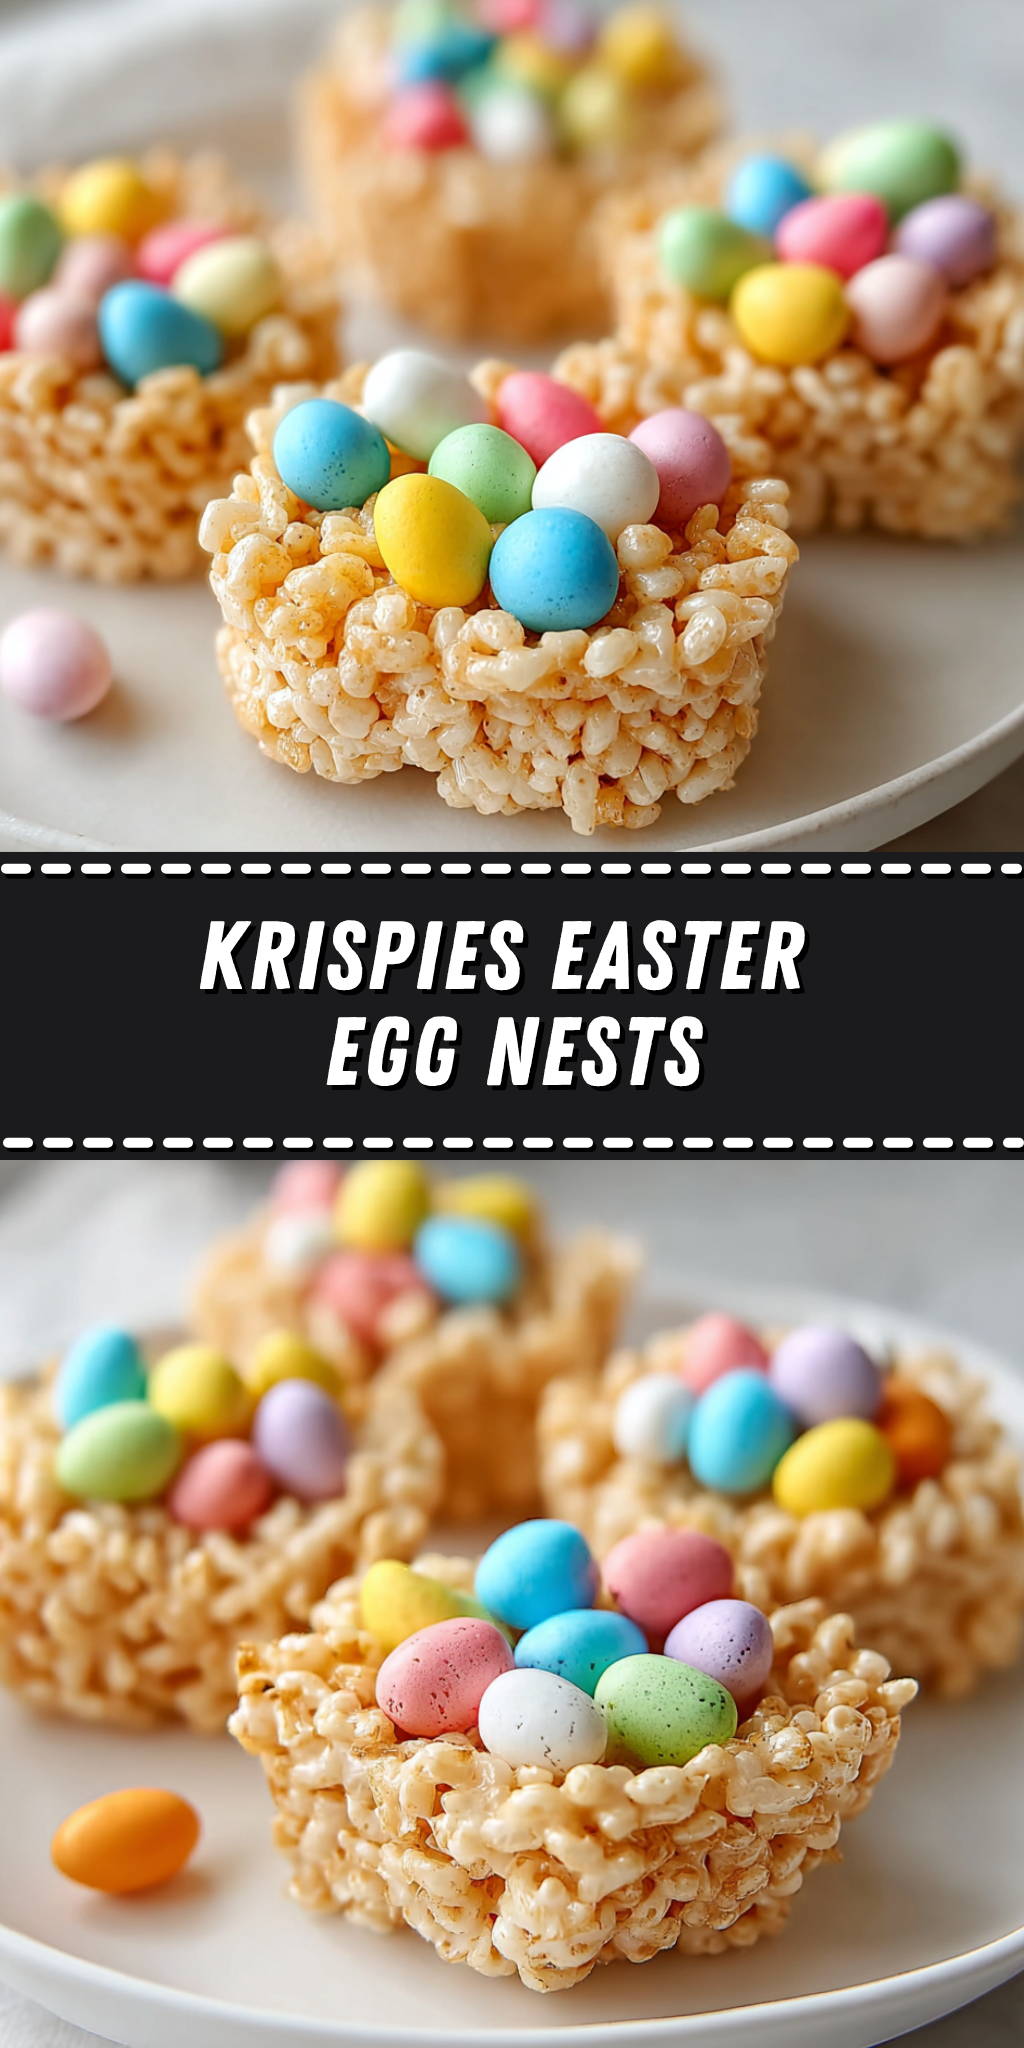
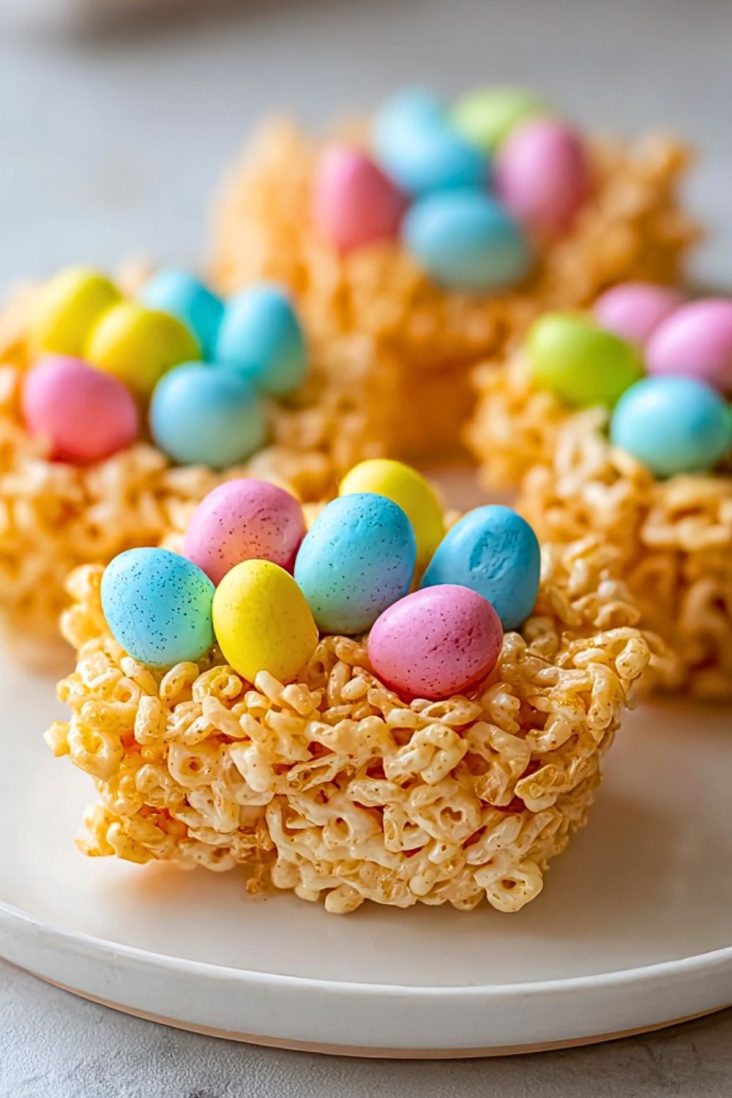
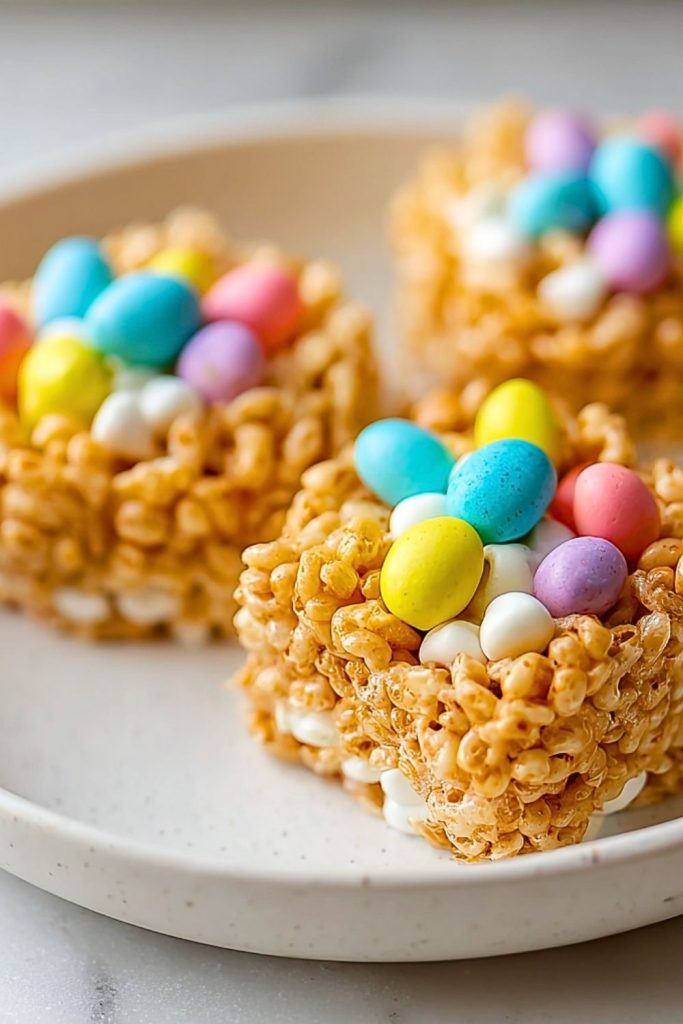
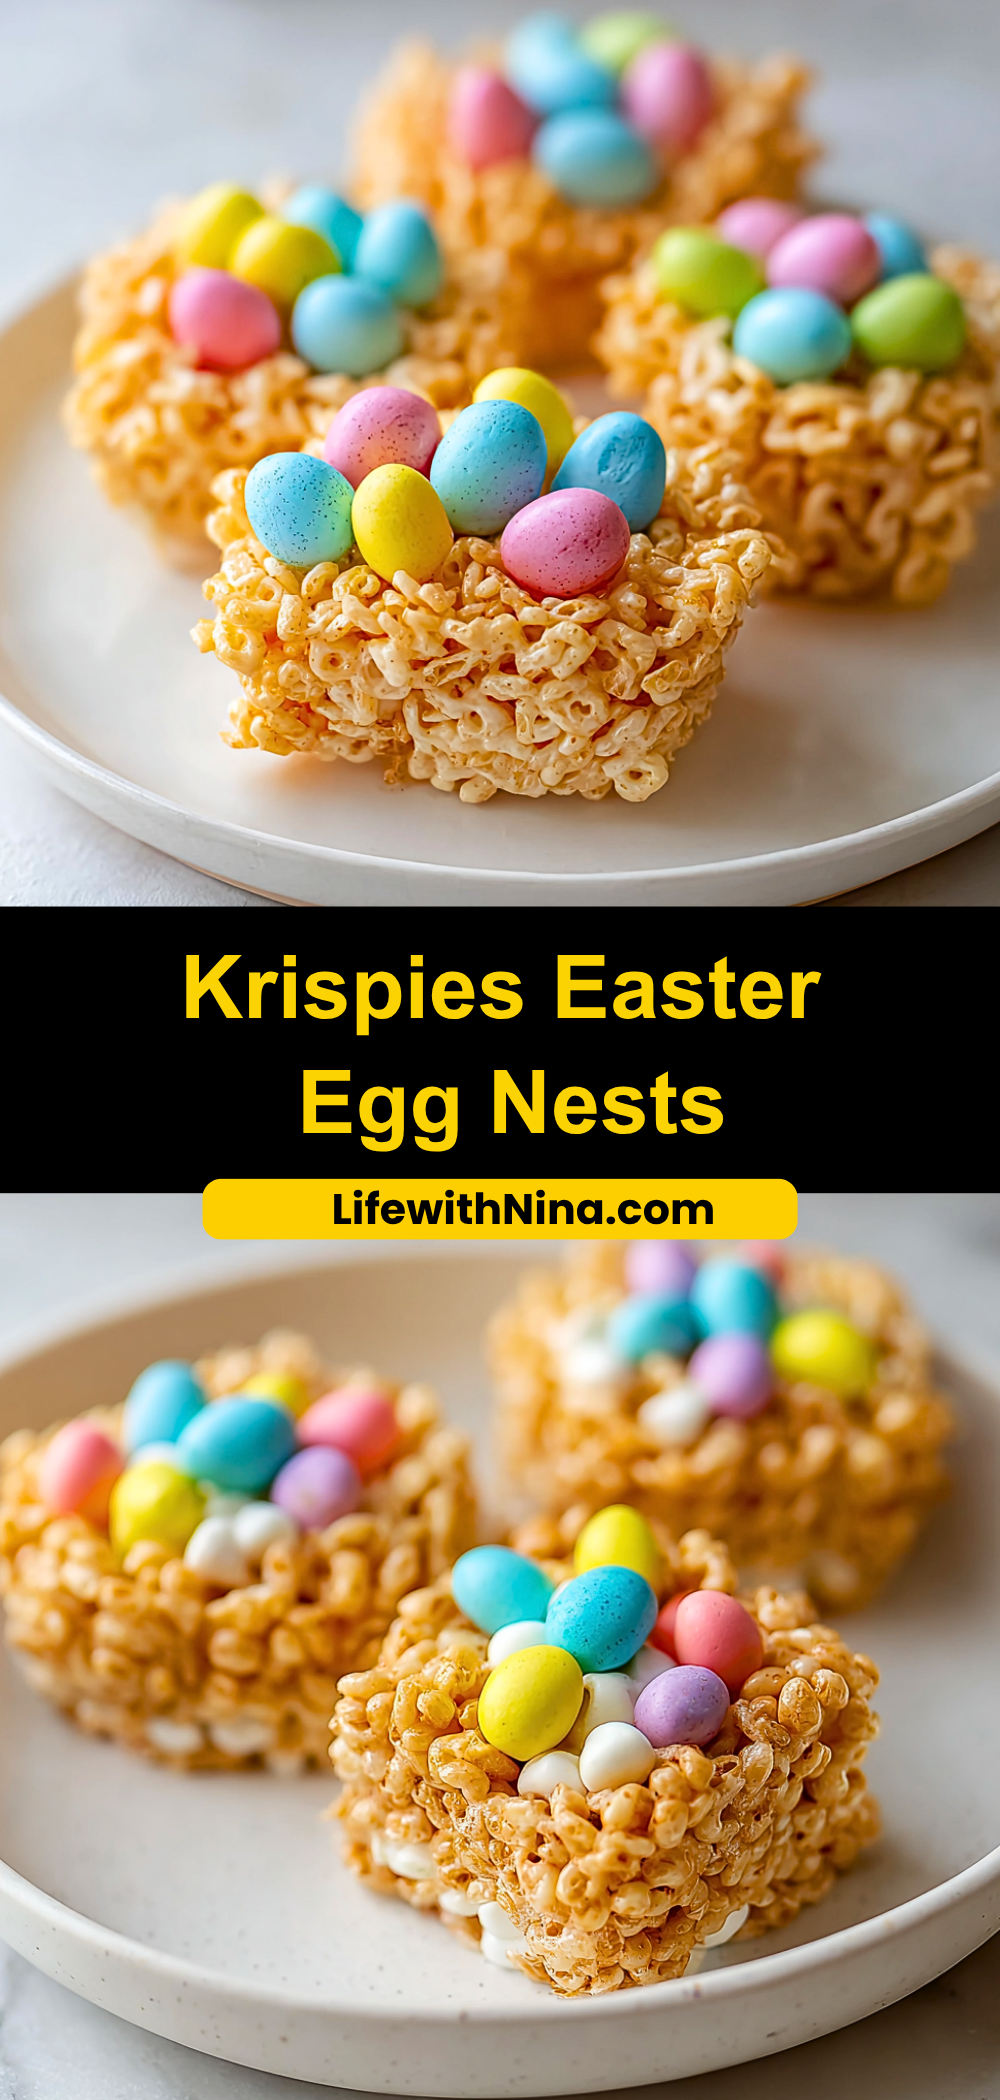
If you’re looking for a whimsical spring dessert that delights both kids and adults, Krispies Easter Egg Nests are a must-make. These charming no-bake treats are shaped into cute little nests, filled with colorful candy eggs, and deliver that nostalgic marshmallow crunch we all adore. Whether you need a quick Easter brunch dessert or an edible centerpiece, these nests bring festive fun to the table.


What makes them even better? You only need a handful of ingredients and about 20 minutes to pull them together. Plus, they’re endlessly customizable—use your favorite egg-shaped candies, add white chocolate drizzle, or even shape them in muffin tins for perfect portions.
What Kind of Cereal Works Best for Krispies Easter Egg Nests?
Classic Rice Krispies cereal is the go-to choice because it holds its shape well and offers the best crunch. If you want to try something different, feel free to experiment with cocoa or fruity rice cereal variations for a twist in both flavor and color.
Ingredients for the Krispies Easter Egg Nests
Marshmallows – These are the base of your mixture and the sweet glue that binds everything together.
Unsalted Butter – Helps melt the marshmallows smoothly and adds rich flavor.
Rice Krispies Cereal – Gives the nests their signature crunch and structure.
Candy-Coated Chocolate Eggs – These serve as the adorable “eggs” in your nests. Mini Cadbury eggs or pastel M&M’s work beautifully.
White Chocolate Chips (optional) – For extra sweetness or decorative drizzle.
Nonstick Spray or Butter (for hands) – Keeps your hands from sticking when shaping the nests.
How To Make the Krispies Easter Egg Nests
Step 1: Melt the Marshmallows
In a large saucepan over medium heat, melt the butter completely. Add in the marshmallows and stir continuously until they’re fully melted and smooth.
Step 2: Stir in the Cereal
Remove the pan from heat and immediately stir in the Rice Krispies cereal. Mix quickly but gently until the cereal is evenly coated with the melted marshmallow mixture.
Step 3: Shape the Nests
Grease your hands with butter or spray them with nonstick spray. Scoop about 1/4 cup of the mixture and form into a nest shape, pressing down the center slightly to create a dip. You can also press the mixture into a greased muffin tin for uniform shapes.
Step 4: Decorate with Eggs
While the nests are still slightly warm but firm enough to hold shape, press a few candy-coated chocolate eggs into the center of each nest.
Step 5: Optional Finishing Touch
Melt white chocolate chips and drizzle over the nests for an extra sweet and polished look.
How to Serve and Store Krispies Easter Egg Nests
Serve these festive nests as a cheerful addition to your spring dessert spread or package them in treat bags as adorable Easter gifts. They’re perfect for kids’ parties, egg hunts, or as a DIY dessert decorating activity.
To store, place the nests in an airtight container at room temperature for up to 3 days. Avoid refrigerating them, as it can cause the marshmallows to harden. If stacking, layer parchment paper between them to prevent sticking.
Frequently Asked Questions
How far in advance can I make Krispies Easter Egg Nests?
You can make them up to 2-3 days in advance. Just keep them in an airtight container to maintain freshness.
Can I use jumbo marshmallows instead of mini ones?
Yes, you can! Just be sure to measure the amount by weight and melt them slowly to avoid burning.
What can I use instead of candy eggs?
Mini jelly beans, chocolate chips, or even dried fruit pieces can be a fun alternative if you’re customizing.
Can I make these dairy-free?
Yes, you can use plant-based butter and vegan marshmallows. Just double-check that your cereal and candy eggs are dairy-free too.
How do I keep the mixture from sticking to my hands?
Lightly grease your hands with butter or nonstick spray before shaping. This makes handling the warm mixture much easier.
Can I freeze Krispies nests?
Freezing isn’t ideal for this treat. The texture changes, and the nests may become too hard or lose their crispness after thawing.
Want More Dessert Ideas for Spring?
If you love these Krispies Easter Egg Nests, check out these sweet spring favorites:
- Strawberry Puff Pastry Hearts for a fruity and flaky twist.
- Lemon Oatmeal No-Bake Cookies packed with citrus zing.
- Chocolate Caramel Dump Cake for a warm, gooey indulgence.
- Blueberry Cheesecake Heaven Rolls if you’re craving berry-filled bites.
- No Bake Easy Cherry Chocolate Chip Pie for a creamy, crowd-pleasing pie.
Save This Pin + Share Your Results
📌 Save this recipe to your Pinterest Easter treats board so you can whip it up next season or any time you’re in the mood for sweet nostalgia.
And don’t forget to drop a comment below—Did you go classic or colorful? Add a drizzle or stick with candy eggs?
I’d love to hear how you made these Krispies Easter Egg Nests your own. Questions or tips? Share them—we’re all here to learn and snack together!

Krispies Easter Egg Nests
- Prep Time: 10 minutes
- Cook Time: 10 minutes
- Total Time: 20 minutes
- Yield: 12 nests 1x
- Category: Desserts
Description
A sweet and playful no-bake treat, Krispies Easter Egg Nests are made with gooey marshmallows, crunchy cereal, and colorful candy eggs. These adorable little nests are perfect for Easter celebrations, spring parties, or whenever you’re craving a quick and festive dessert.
Ingredients
4 tablespoons unsalted butter
5 cups mini marshmallows
6 cups Rice Krispies cereal
1 cup candy-coated chocolate eggs (like Cadbury Mini Eggs or M&M’s)
1/2 cup white chocolate chips (optional)
Nonstick spray or butter for shaping
Instructions
- In a large saucepan, melt the butter over medium heat.
- Add marshmallows and stir constantly until fully melted and smooth.
- Remove from heat and stir in Rice Krispies cereal until evenly coated.
- Lightly grease your hands and shape about 1/4 cup of the mixture into nests. Press the center gently to form a dip.
- Place candy eggs in the center of each nest while still warm.
- (Optional) Melt white chocolate chips and drizzle over the nests.
- Let nests cool and firm at room temperature.