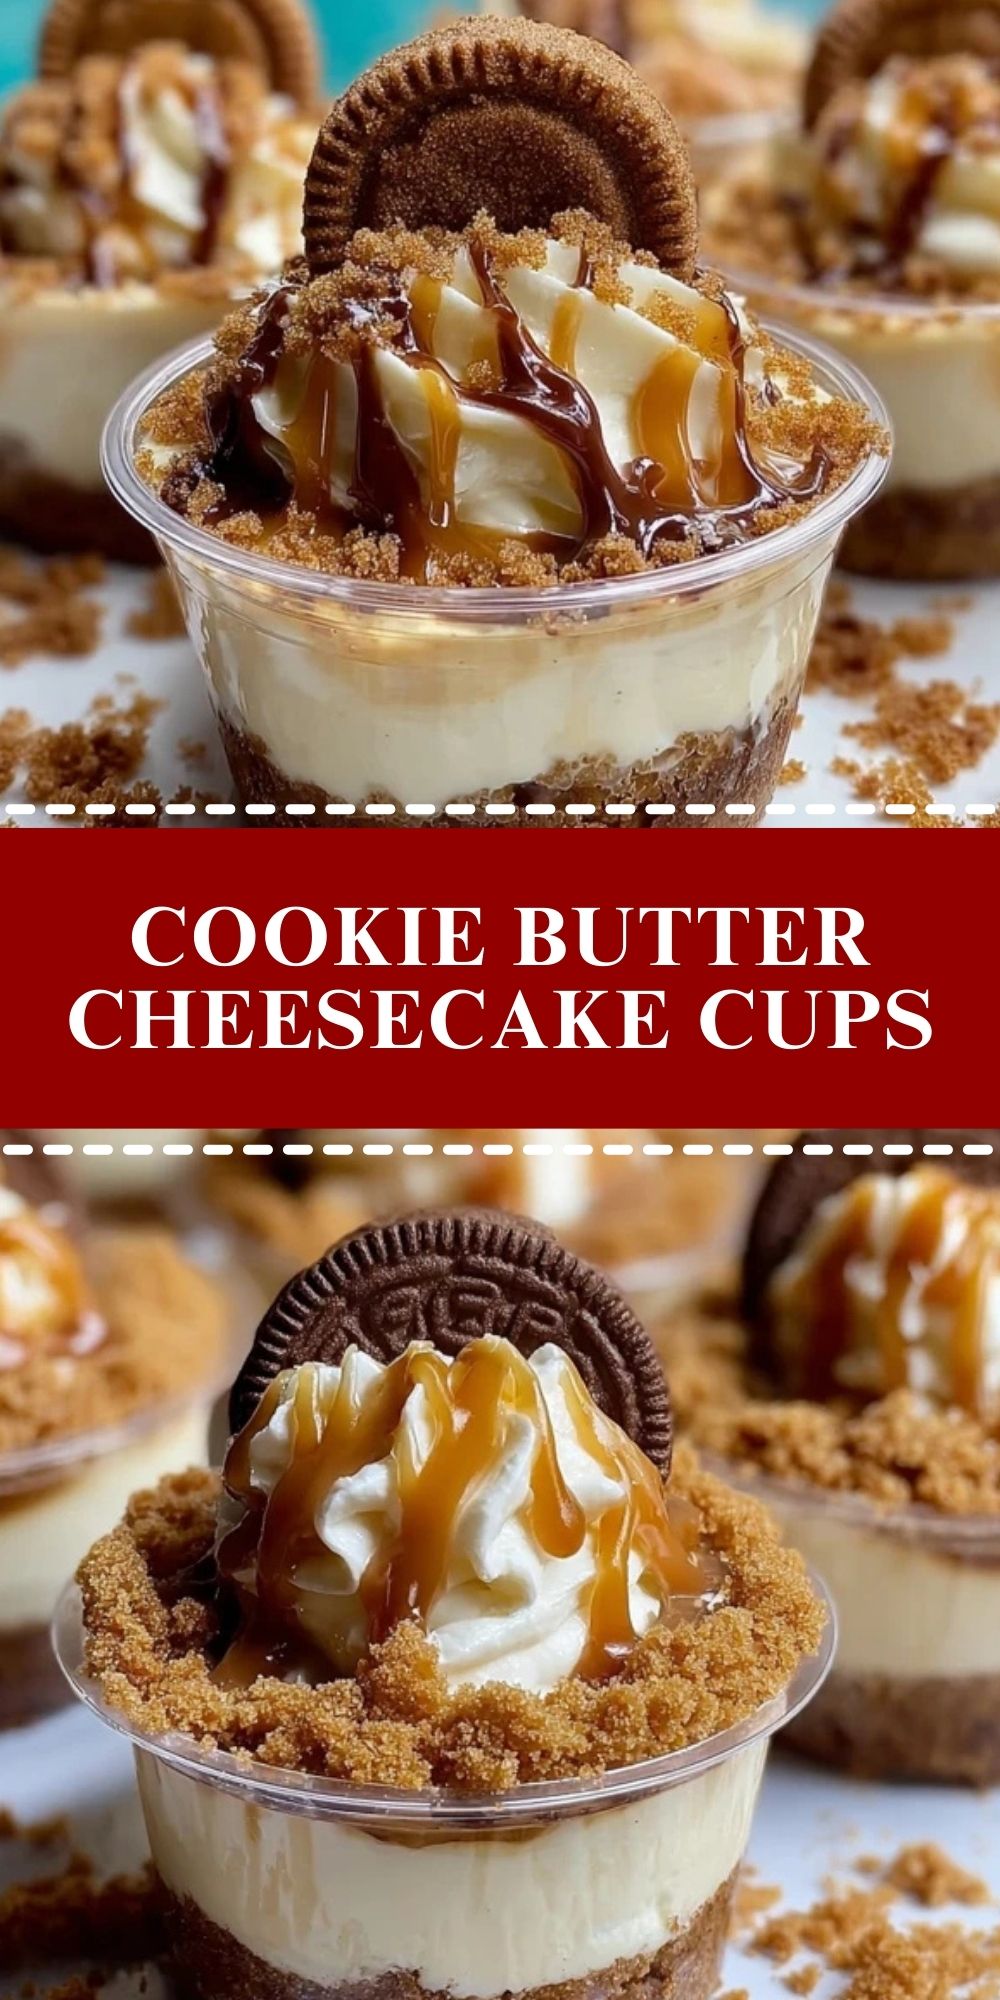

If you love desserts that are both creamy and crunchy, you’re in for a treat. These Cookie Butter Cheesecake Cups are rich, silky, and bursting with cookie flavor in every bite. With a buttery cookie crust, smooth cheesecake filling, and a generous drizzle of cookie butter on top, they’re a no-bake dream that tastes like you spent hours in the kitchen.
Perfect for parties, family gatherings, or just a cozy night in, these cups deliver all the satisfaction of cheesecake without needing an oven. Each spoonful offers layers of texture and flavor—from the velvety filling to the crisp crushed cookie base, crowned with whipped cream and caramel-drizzled cookie crumbles.
What Kind of Cookie Butter Should I Use?
You can use either smooth or crunchy cookie butter for this recipe, depending on your texture preference. Smooth cookie butter creates a luscious, creamy topping, while the crunchy version adds an extra bite that complements the cookie base. Brands like Biscoff or Trader Joe’s Speculoos work beautifully here.

Ingredients for the Cookie Butter Cheesecake Cups
- Cookie Butter – The star of the show. Its spiced, caramelized flavor adds warmth and depth to the cheesecake.
- Cream Cheese – This forms the silky base of your cheesecake layer and balances the sweetness.
- Whipped Topping – Folded into the cream cheese for a light, mousse-like texture.
- Graham Crackers or Biscoff Cookies – Crushed into fine crumbs for the buttery crust.
- Butter – Melted and mixed with cookie crumbs to form the base layer.
- Powdered Sugar – Adds sweetness to the cheesecake filling without grittiness.
- Vanilla Extract – Enhances the overall flavor with a touch of warmth.
- Caramel Sauce (optional) – Drizzled on top for an indulgent finish.
- Whipped Cream & Cookie Garnish – For decorating and added texture.
How To Make the Cookie Butter Cheesecake Cups
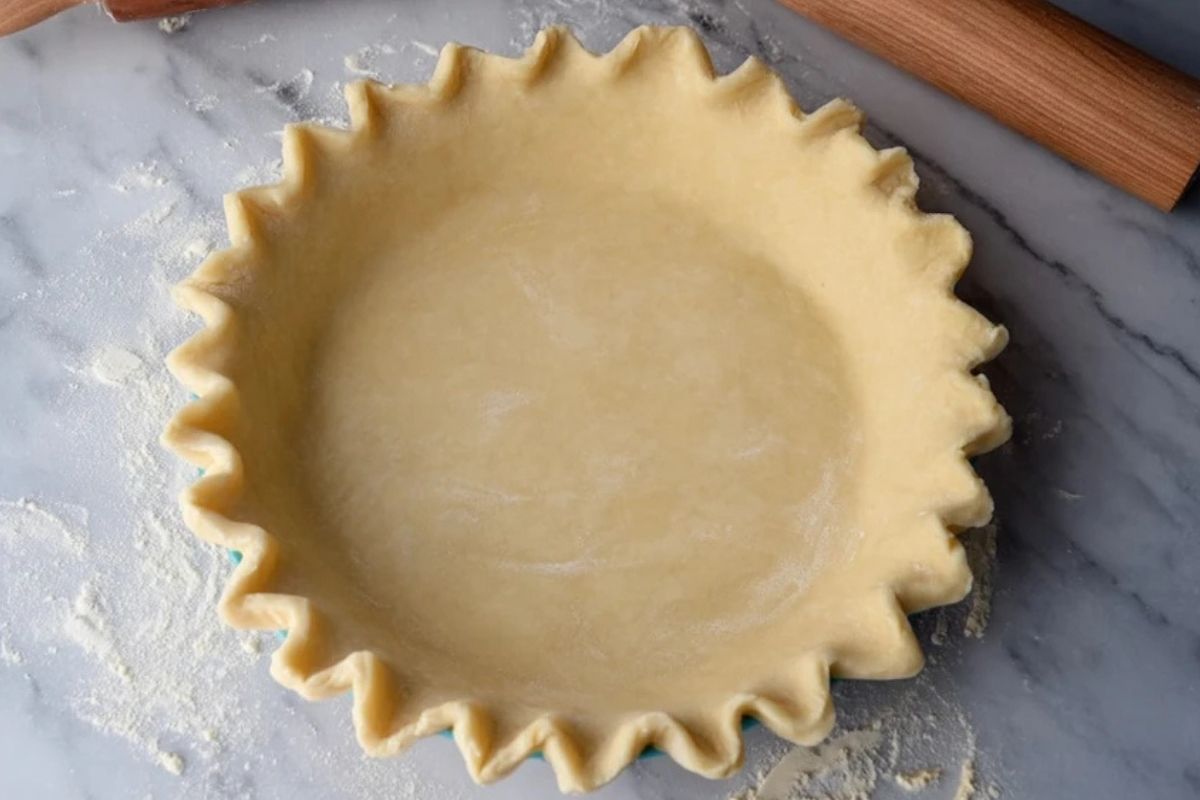
Step 1: Prepare the Crust
Crush your graham crackers or Biscoff cookies into fine crumbs using a food processor or a zip-top bag and rolling pin. In a bowl, mix the crumbs with melted butter until the texture feels like wet sand. Press the mixture firmly into the bottom of small dessert cups to form the base.
Step 2: Make the Cheesecake Filling
In a mixing bowl, beat softened cream cheese until smooth. Add in powdered sugar and vanilla extract, mixing well until fully incorporated. Fold in the whipped topping gently to keep the mixture airy and fluffy. Spoon or pipe this cheesecake mixture over the prepared crust layer in each cup.
Step 3: Add the Cookie Butter Layer
Warm your cookie butter slightly in the microwave for about 15–20 seconds to make it pourable. Drizzle or spoon a layer over the cheesecake filling. You can swirl it in lightly or leave it as a decadent top layer.
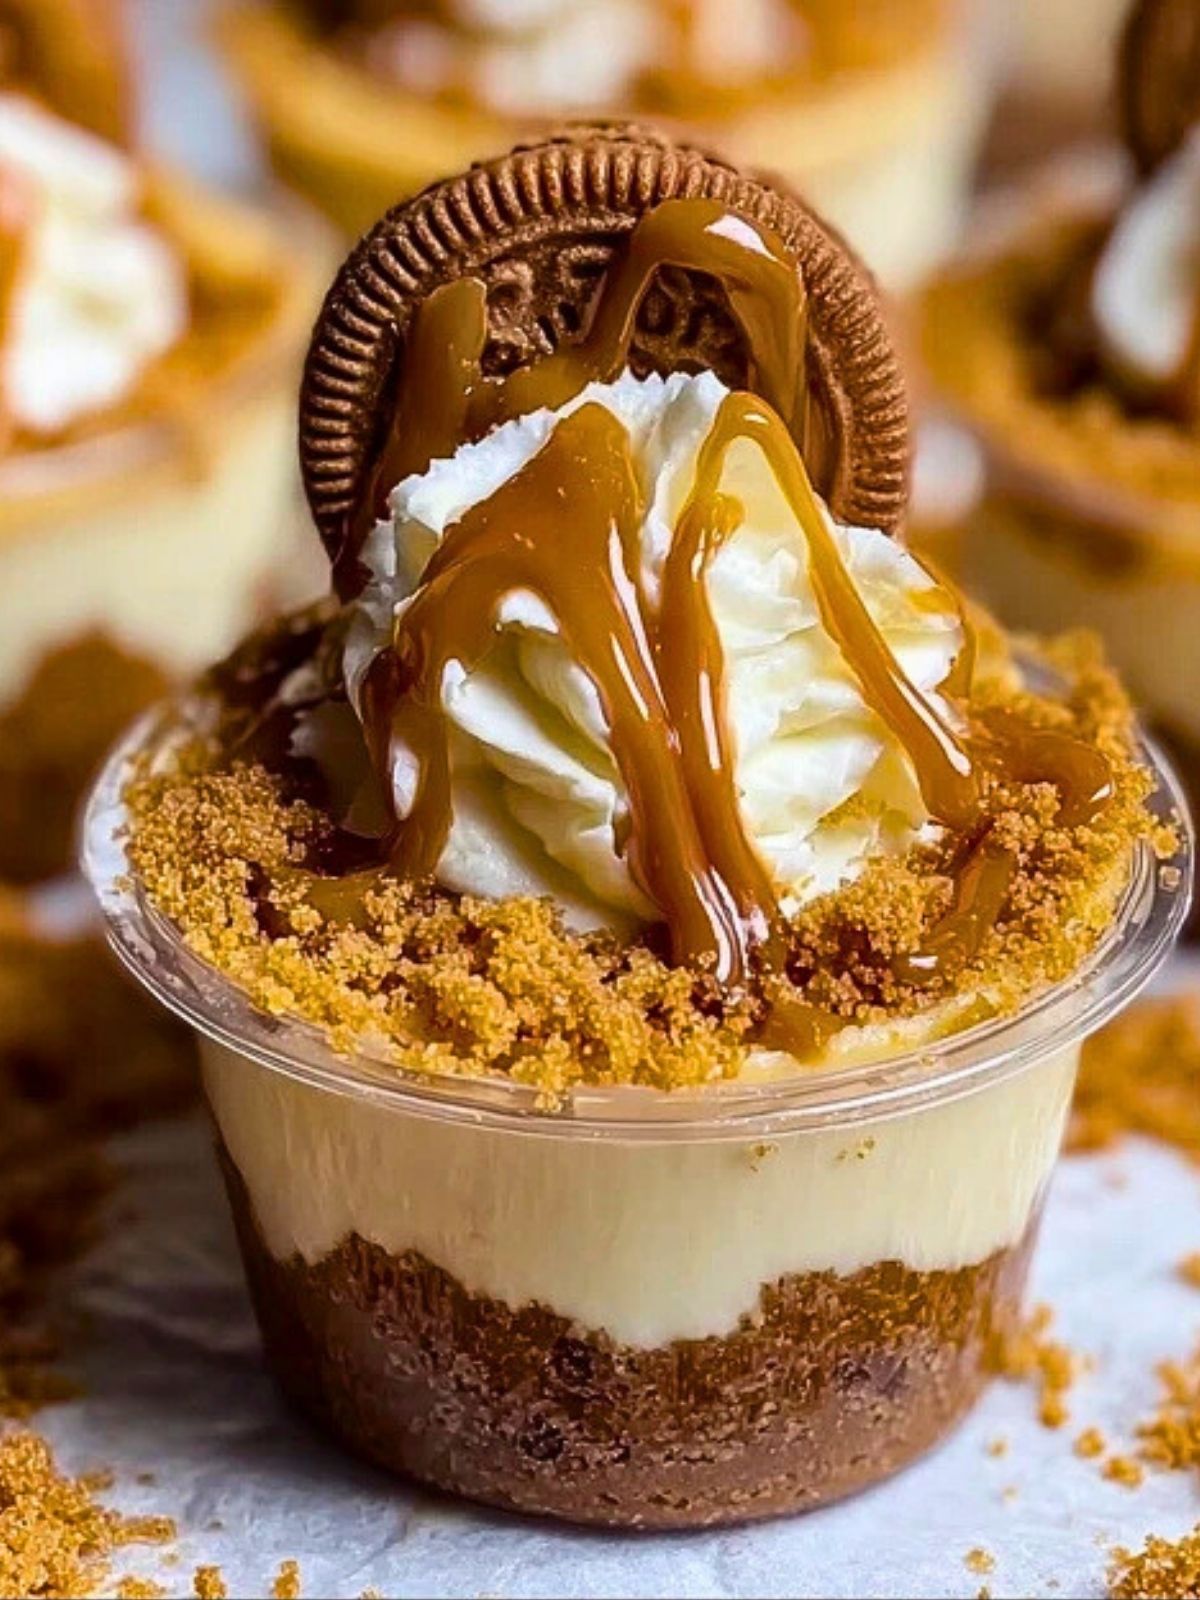
Step 4: Garnish and Chill
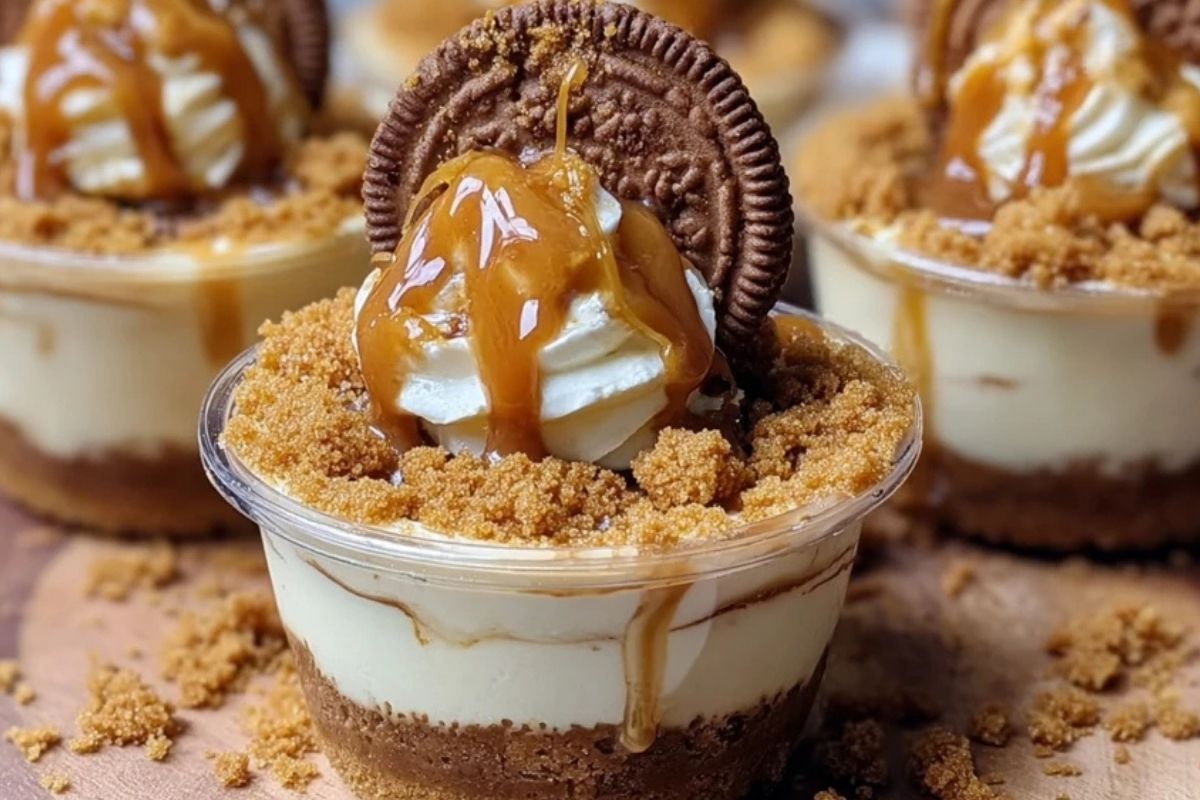
Top each cup with a swirl of whipped cream, a drizzle of caramel sauce, and a sprinkle of cookie crumbs. Add a cookie piece on top for extra flair. Chill the cups in the refrigerator for at least 2 hours before serving to allow them to set properly.
Serving and Storing Cookie Butter Cheesecake Cups
These cheesecake cups are best served chilled, straight from the refrigerator. The layers hold their shape beautifully, and the cold enhances the cookie butter flavor. Serve them in clear cups for a visually appealing treat that shows off every luscious layer.
To store, cover each cup with plastic wrap or place them in an airtight container. They’ll stay fresh in the refrigerator for up to 4 days. If you’re prepping ahead, wait to add the whipped cream and garnishes until just before serving to maintain their texture.
Frequently Asked Questions
Can I freeze these cheesecake cups?
Yes! You can freeze them without the whipped topping for up to 1 month. Thaw in the fridge overnight before serving and add fresh garnishes.
What if I don’t have cookie butter?
You can substitute with peanut butter or Nutella, though it will change the flavor. Cookie butter’s unique spiced notes are what really make this dessert stand out.
Can I make this into a full-sized cheesecake?
Absolutely. Just press the crust into a springform pan and follow the same layering instructions. Chill for 4–6 hours or until fully set.
Is there a dairy-free version?
You can try dairy-free cream cheese and whipped coconut topping, but the consistency may vary slightly. Always chill well for best results.
Can I use a different cookie base?
Sure! While Biscoff adds a deep caramel crunch, graham crackers, gingersnaps, or even chocolate wafer cookies will all work well.
How far in advance can I make them?
Up to 2 days in advance is ideal. Keep them refrigerated and add toppings right before serving for the freshest look and taste.
Want More Cheesecake Dessert Ideas?
If you enjoyed these Cookie Butter Cheesecake Cups, here are a few other sweet treats to explore next:
- Strawberry Cheesecake Cupcakes for a fruity twist with a creamy center.
- Strawberry Cheesecake Donut Holes if you love bite-sized indulgence.
- Cookies & Cream Cheesecake Deep Fried Oreos for a carnival-inspired dessert.
- Caramel Reese’s Oreo Cheesecake for a triple-threat flavor explosion.
- Strawberry Animal Cookie Cheesecake if you’re craving color and crunch.
Save This Pin + Share Your Results
📌 Save this recipe to your Pinterest dessert board so you can come back to it any time.
And if you try these Cookie Butter Cheesecake Cups, leave a comment and let me know how they turned out! Did you stick with smooth cookie butter, or go for the crunchy kind? Maybe you added a chocolate drizzle?
I’d love to hear your spin on it! Have questions or substitutions you tried? Share them below—let’s make dessert even better, together.
Follow me on Pinterest for more sweet ideas: Life with Nina on Pinterest
Cookie Butter Cheesecake Cups
- Prep Time: 15 minutes
- Cook Time: 2 hours
- Total Time: 2 hours 15 minutes
- Yield: 6–8 cups 1x
- Category: Dessert
- Method: No-Bake
- Cuisine: American
- Diet: Vegetarian
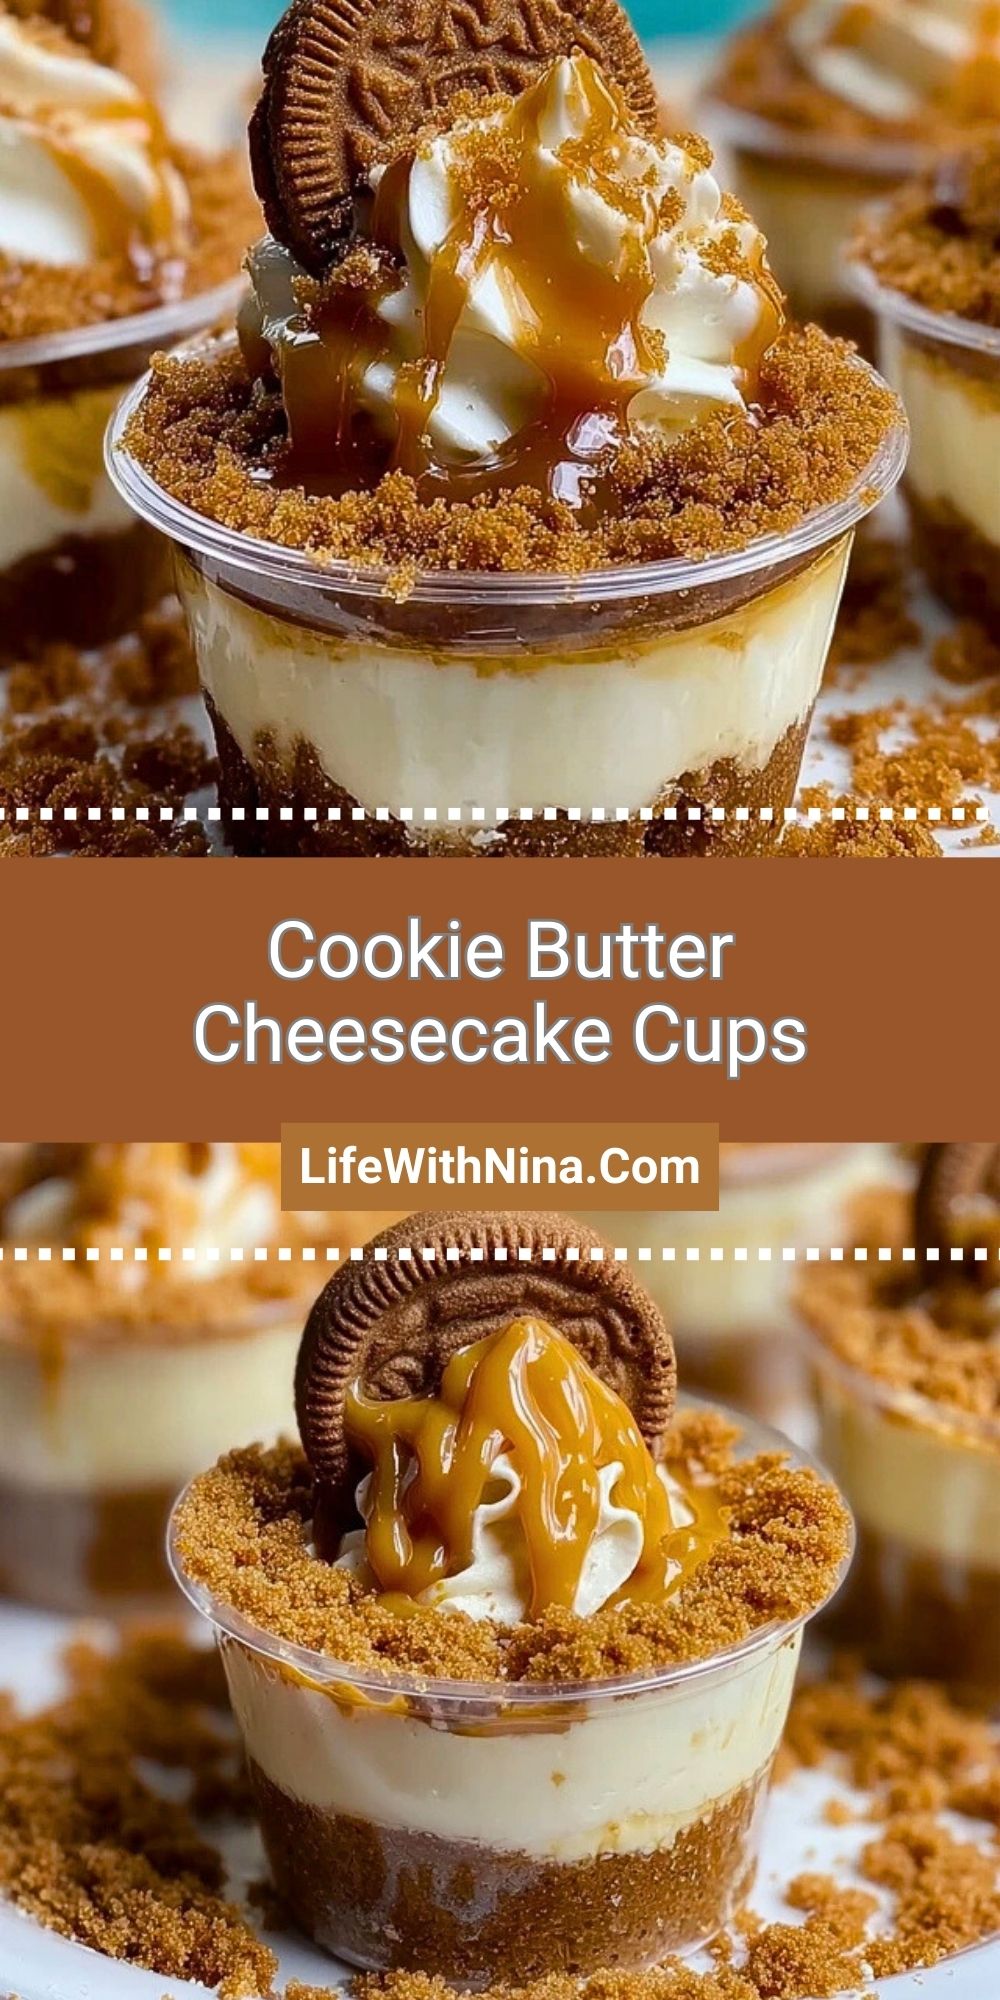
Description
Cookie Butter Cheesecake Cups are a no-bake dessert featuring a buttery cookie crust, a silky cream cheese filling, and a drizzle of spiced cookie butter. Perfectly layered and chilled in individual servings, they’re ideal for entertaining or indulging your sweet tooth at home.
Ingredients
1 cup crushed Biscoff cookies or graham crackers
4 tablespoons melted butter
8 ounces cream cheese, softened
1/2 cup powdered sugar
1 teaspoon vanilla extract
1 cup whipped topping
1/2 cup cookie butter, warmed
Whipped cream, for topping
Caramel sauce, for drizzling (optional)
Extra cookie crumbs and cookie pieces, for garnish
Instructions
1. Crush the cookies into fine crumbs using a food processor or a rolling pin and zip-top bag.
2. Mix the crumbs with melted butter until the texture resembles wet sand.
3. Press the mixture firmly into the bottoms of individual dessert cups.
4. In a bowl, beat the softened cream cheese until smooth.
5. Add powdered sugar and vanilla extract, mixing until fully incorporated.
6. Gently fold in the whipped topping until light and fluffy.
7. Spoon or pipe the cheesecake mixture over the crust layer in each cup.
8. Warm the cookie butter for 15–20 seconds in the microwave and drizzle or spoon over the cheesecake layer.
9. Add whipped cream, a drizzle of caramel sauce (optional), cookie crumbs, and a cookie piece on top.
10. Chill in the refrigerator for at least 2 hours before serving.
Notes
For best results, use room-temperature cream cheese to ensure a smooth filling.
Smooth or crunchy cookie butter both work—choose based on your texture preference.
Wait to garnish until just before serving to keep toppings fresh and crisp.
Nutrition
- Serving Size: 1 cup
- Calories: 320
- Sugar: 18g
- Sodium: 160mg
- Fat: 22g
- Saturated Fat: 12g
- Unsaturated Fat: 8g
- Trans Fat: 0g
- Carbohydrates: 28g
- Fiber: 1g
- Protein: 3g
- Cholesterol: 45mg
Keywords: cookie butter, cheesecake cups, no-bake dessert