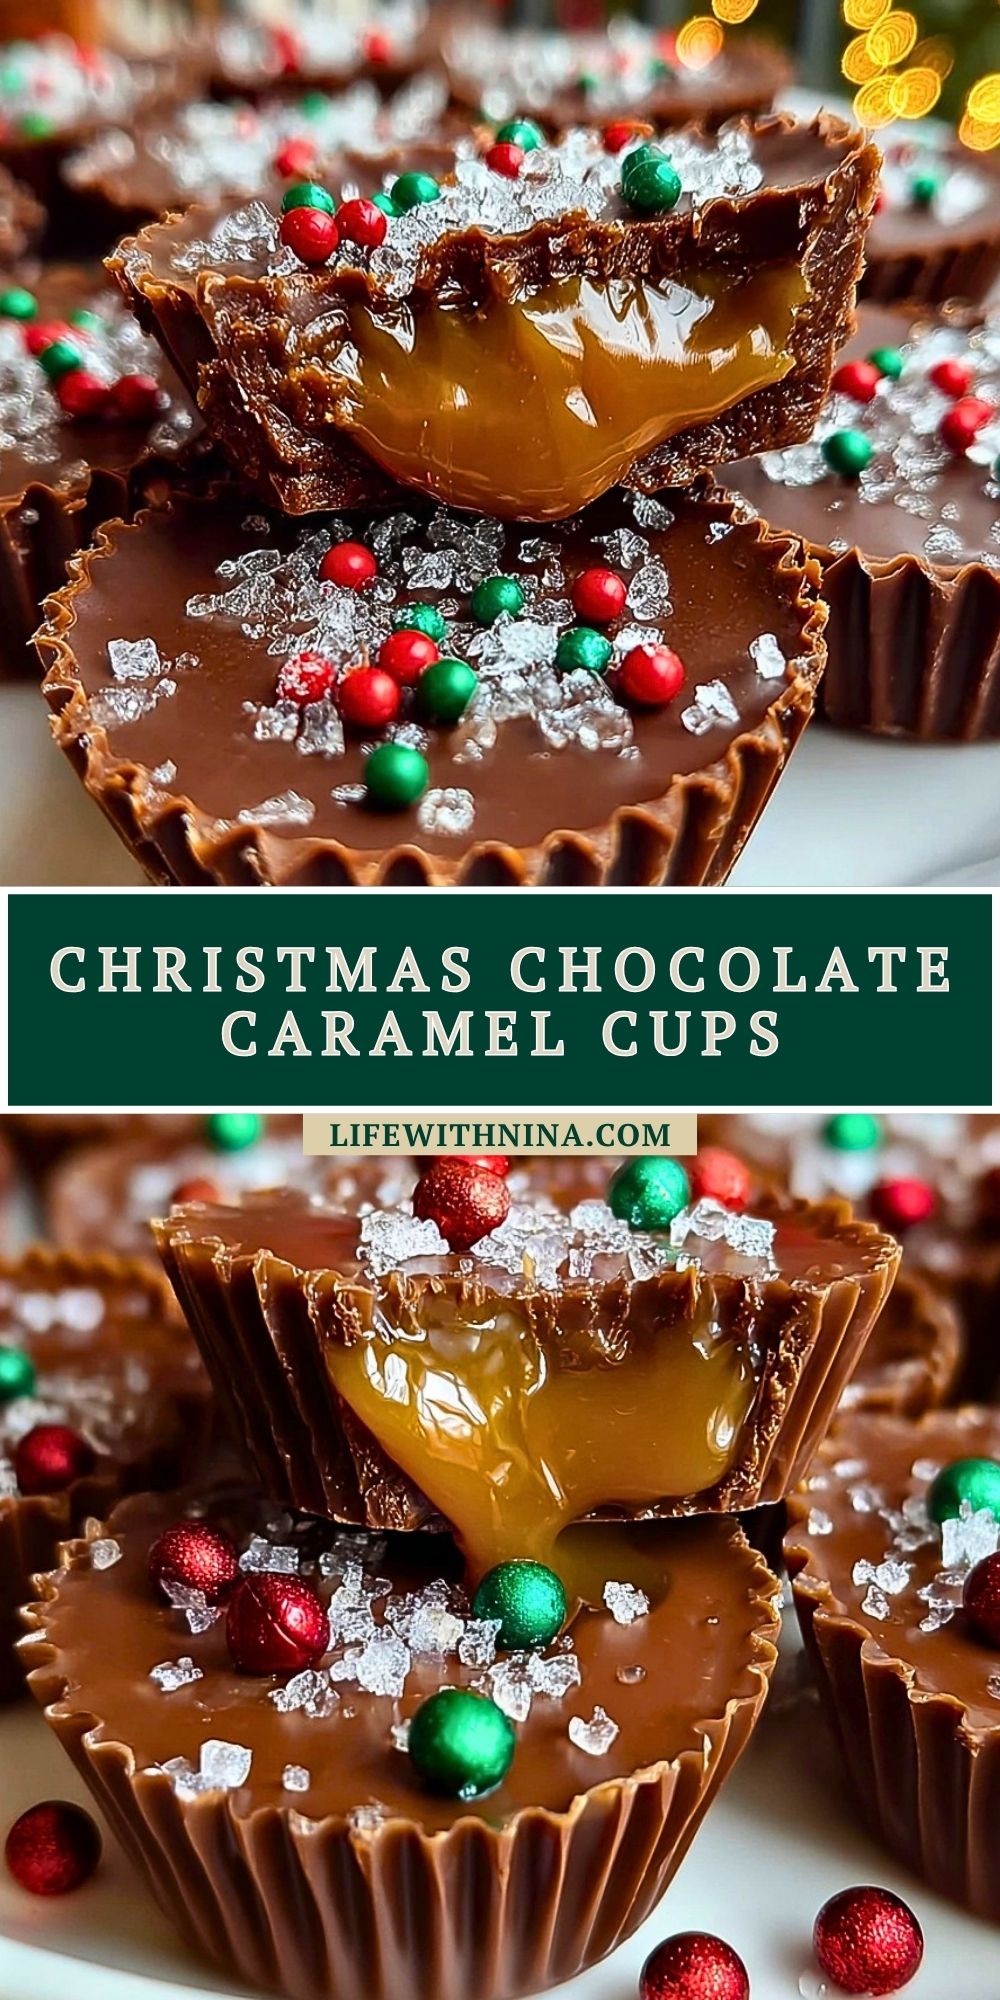
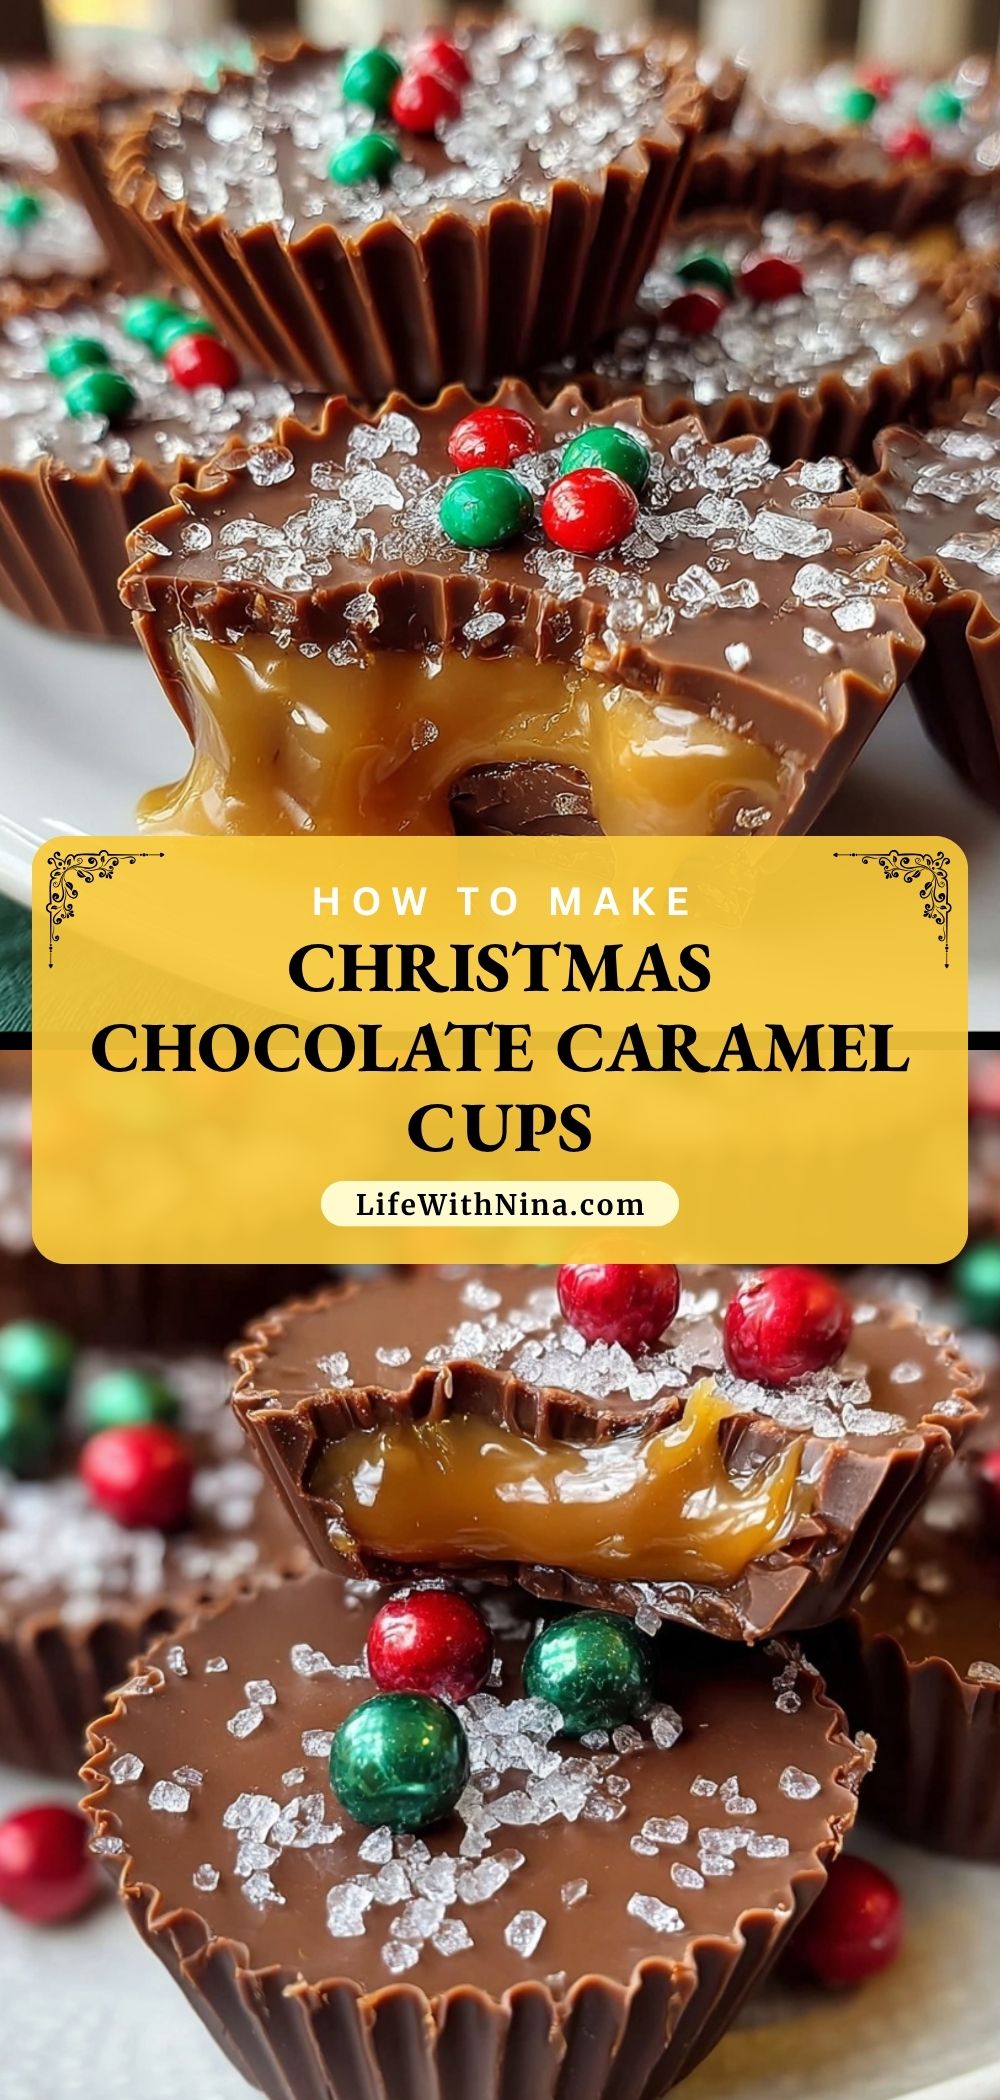
Christmas Chocolate Caramel Cups are the kind of festive treat that disappear fast from every holiday dessert tray. With a crisp chocolate shell, a soft and gooey caramel center, and a sprinkle of colorful candy on top, these little cups feel extra special without taking hours to make.
They are rich, sweet, and perfect for Christmas parties, cookie exchanges, edible gift boxes, or cozy nights when you want something easy and homemade. Each bite gives you smooth milk chocolate, buttery caramel, and a touch of holiday sparkle that makes them just as pretty as they are delicious.
What Makes Christmas Chocolate Caramel Cups So Perfect for the Holidays?
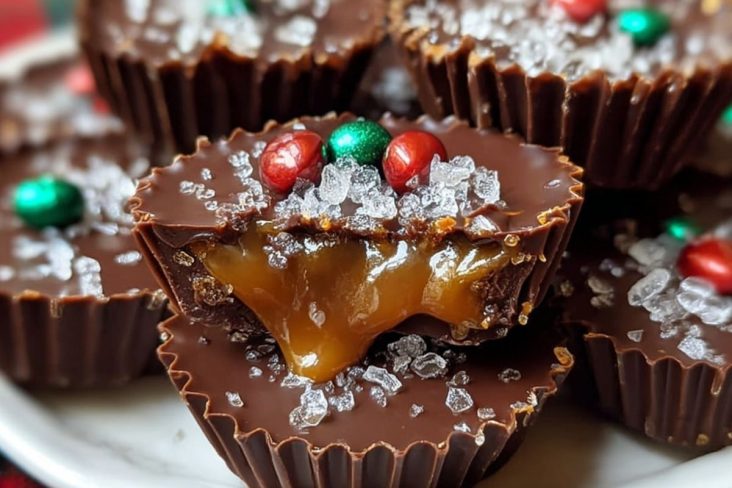
These festive chocolate caramel cups are simple to prepare, but they look like a bakery-style holiday dessert. They are ideal when you need a no-fuss sweet treat that still feels impressive. The mix of creamy chocolate and soft caramel gives them that classic candy-shop flavor, while the red and green topping makes them instantly Christmas-ready.

Ingredients for the Christmas Chocolate Caramel Cups
You only need a few simple ingredients to make these Christmas Chocolate Caramel Cups, and each one plays an important role in getting that glossy finish, rich flavor, and soft caramel center just right.
Milk chocolate chips or melting chocolate
This creates the shell of the cups and gives them their smooth, rich chocolate base. Milk chocolate keeps the flavor sweet and kid-friendly, though semi-sweet can work too if you want a deeper chocolate taste.
Soft caramels
These are the star of the filling. Once melted, they turn into that gooey center that makes each cup feel extra indulgent.
Heavy cream
A little cream helps the caramel melt smoothly and keeps the filling soft instead of stiff.
Holiday candy pieces
Red and green candy-coated chocolates add festive color and a little crunch on top.
Coarse sugar or holiday sprinkles
This adds sparkle and gives the cups that decorative holiday finish.
Mini cupcake liners
These hold the chocolate shape and make the finished cups easy to remove and serve.
How To Make the Christmas Chocolate Caramel Cups
Making Christmas Chocolate Caramel Cups is easier than they look. A few simple layers and a little chill time are all you need to create a beautiful holiday dessert.
Step 1: Prepare the liners
Place mini cupcake liners in a mini muffin pan or on a tray. This helps the cups hold their shape and makes the chocolate easier to set evenly.
Step 2: Melt the chocolate
Add the milk chocolate chips or melting chocolate to a microwave-safe bowl. Heat in short intervals, stirring after each one, until the chocolate is smooth and glossy.
Step 3: Make the chocolate base
Spoon a little melted chocolate into each liner and use the back of the spoon to push some chocolate slightly up the sides. This creates the base of the cup and helps hold the caramel filling in place.
Step 4: Chill the first layer
Place the tray in the refrigerator for about 10 to 15 minutes so the chocolate can firm up before adding the caramel.
Step 5: Melt the caramel filling
Add the soft caramels and heavy cream to a microwave-safe bowl. Heat gently, stirring often, until the caramel is smooth, thick, and pourable.
Step 6: Fill each cup
Spoon a small amount of caramel into the center of each chilled chocolate cup. Leave a little room at the top for the final chocolate layer.
Step 7: Add the top chocolate layer
Cover the caramel with another spoonful of melted chocolate, smoothing the tops gently so the filling is sealed inside.
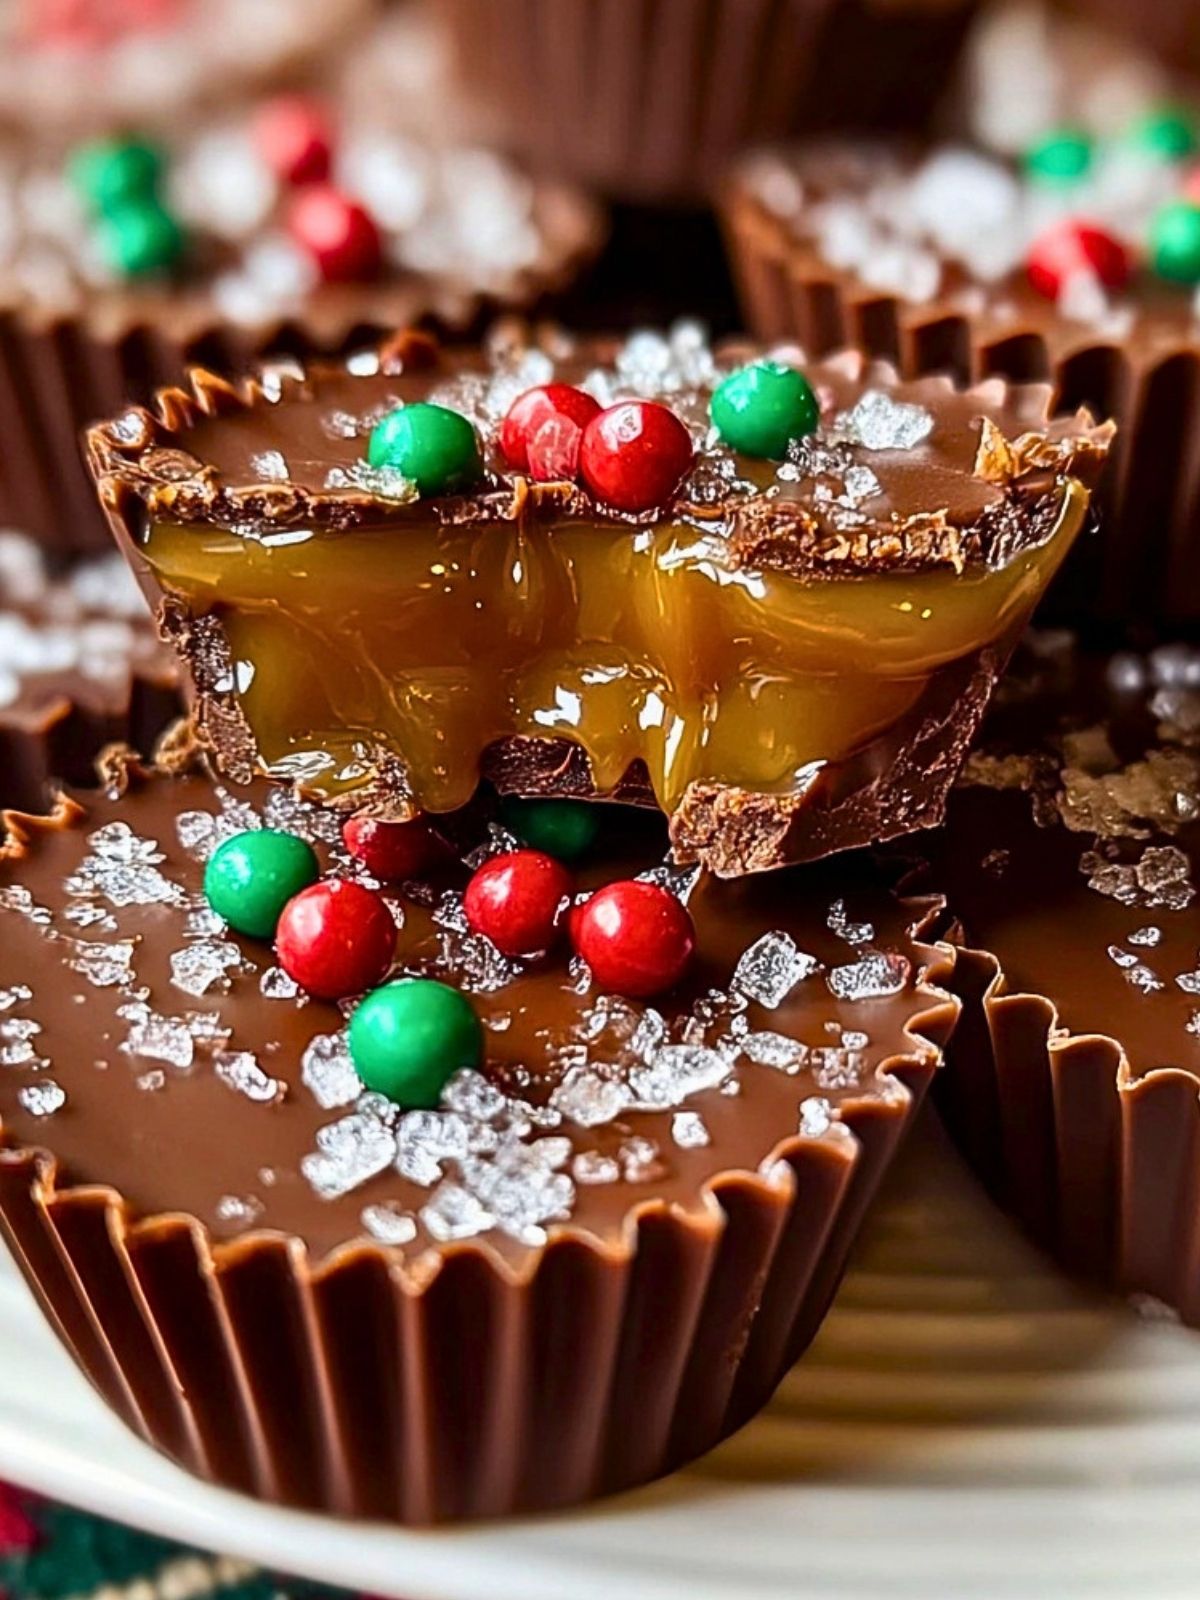
Step 8: Decorate for Christmas
Top each cup with red and green candy pieces and a pinch of coarse sugar or holiday sprinkles while the chocolate is still soft.
Step 9: Chill until set
Return the cups to the refrigerator for 20 to 30 minutes, or until fully firm.
Step 10: Serve and enjoy
Once set, peel away the liners and serve the Christmas Chocolate Caramel Cups chilled or at cool room temperature.
How to Serve and Store Christmas Chocolate Caramel Cups
These Christmas Chocolate Caramel Cups are perfect served straight from the fridge if you want a firmer bite, or after sitting out for a few minutes if you prefer the caramel center a little softer. Arrange them on a holiday dessert board, tuck them into cookie tins, or wrap a few in treat bags for easy edible gifts.
To store them, place the cups in an airtight container in the refrigerator for up to 1 week. If you need to stack them, separate layers with parchment paper. You can also freeze them for up to 2 months. Let them thaw in the fridge before serving so the chocolate stays glossy and the caramel keeps its soft texture.
Frequently Asked Questions
Can I use store-bought caramel sauce instead of melted caramels?
A thick caramel sauce may work, but melted soft caramels are usually better because they set more reliably inside the chocolate cups.
Can I use dark chocolate instead of milk chocolate?
Yes, dark chocolate gives these cups a richer flavor and balances the sweetness of the caramel nicely.
Do I need a mini muffin pan?
No, but it helps keep the cups neat and evenly shaped. You can also place the liners on a flat tray.
How do I keep the chocolate from cracking?
Make sure the cups are not too cold when you peel away the liners, and use a slightly thicker chocolate shell around the edges.
Can I make these ahead for a party?
Yes, these are great for making ahead. Prepare them a day or two in advance and keep them chilled until you are ready to serve.
What other toppings can I use?
Crushed peppermint, flaky sea salt, chopped nuts, or festive sprinkles all work well on top.
Want More Dessert Ideas?
If you love these Christmas Chocolate Caramel Cups, here are a few more sweet treats from Life with Nina that would fit beautifully on a holiday dessert table:
- Try Chocolate Caramel Dump Cake for another rich chocolate-and-caramel dessert everyone will dig into.
- Make Caramel Reese’s Oreo Cheesecake when you want something creamy, bold, and extra indulgent.
- Bake a batch of Soft and Chewy Oatmeal Chocolate Chip Cookies for a cozy classic with plenty of chocolate flavor.
- Serve Triple Chocolate Banana Bread when you are craving a moist chocolate treat that slices beautifully.
- Add Easy Air Fryer Caramel Apple Wontons to your dessert lineup for a fun caramel-filled option with a crisp finish.
For even more sweet inspiration, browse my daily recipe ideas on Life with Nina on Pinterest.
Save This Pin + Share Your Results
📌 Save these Christmas Chocolate Caramel Cups to your holiday dessert board so you can come back to them anytime during the season.
And let me know how yours turned out. Did you use milk chocolate or dark chocolate? Did you top them with candy, sprinkles, or a little sea salt?
I love seeing how everyone adds their own festive touch. Questions are always welcome too, and sharing your results may help someone else make their best batch yet.

Christmas Chocolate Caramel Cups
- Prep Time: 20 minutes
- Cook Time: 5 minutes
- Total Time: 55 minutes
- Yield: 24 cups 1x
- Category: Dessert
- Method: No-Bake
- Cuisine: American
- Diet: Vegetarian
Description
These Christmas Chocolate Caramel Cups are a quick holiday dessert with a smooth chocolate shell, a gooey caramel center, and festive candy on top. They are perfect for Christmas parties, easy dessert trays, holiday food ideas, edible gifts, and simple no-bake treats when you need an easy recipe everyone loves.
Ingredients
2 cups milk chocolate chips
20 soft caramels, unwrapped
2 tablespoons heavy cream
24 red and green candy-coated chocolates
1 tablespoon coarse sugar or holiday sprinkles
24 mini cupcake liners
Instructions
1. Line a mini muffin pan or small tray with 24 mini cupcake liners.
2. Melt the milk chocolate chips in a microwave-safe bowl in 20-second intervals, stirring until smooth.
3. Spoon a small amount of melted chocolate into each liner and spread some up the sides to form a cup base.
4. Chill for 10 to 15 minutes until the chocolate firms up.
5. Add the soft caramels and heavy cream to a microwave-safe bowl and heat in short intervals, stirring until smooth.
6. Spoon a small amount of caramel into the center of each chocolate cup.
7. Top each one with more melted chocolate, smoothing the tops to seal the caramel inside.
8. Decorate with red and green candy-coated chocolates and coarse sugar or holiday sprinkles.
9. Chill for 20 to 30 minutes until fully set.
10. Remove the liners and serve chilled or at cool room temperature.
Notes
Use good-quality chocolate for the smoothest finish and best flavor.
Do not overfill the cups with caramel or it may spill out when you add the top layer.
Keep the cups chilled until serving for the neatest shape and cleanest bite.
Nutrition
- Serving Size: 1 cup
- Calories: 145
- Sugar: 16g
- Sodium: 28mg
- Fat: 8g
- Saturated Fat: 5g
- Unsaturated Fat: 2g
- Trans Fat: 0g
- Carbohydrates: 19g
- Fiber: 1g
- Protein: 1g
- Cholesterol: 4mg
Keywords: Christmas Chocolate Caramel Cups, holiday dessert, easy recipe, no-bake dessert, Christmas candy cups, caramel cups, chocolate caramel treats, holiday food ideas, dessert ideas