
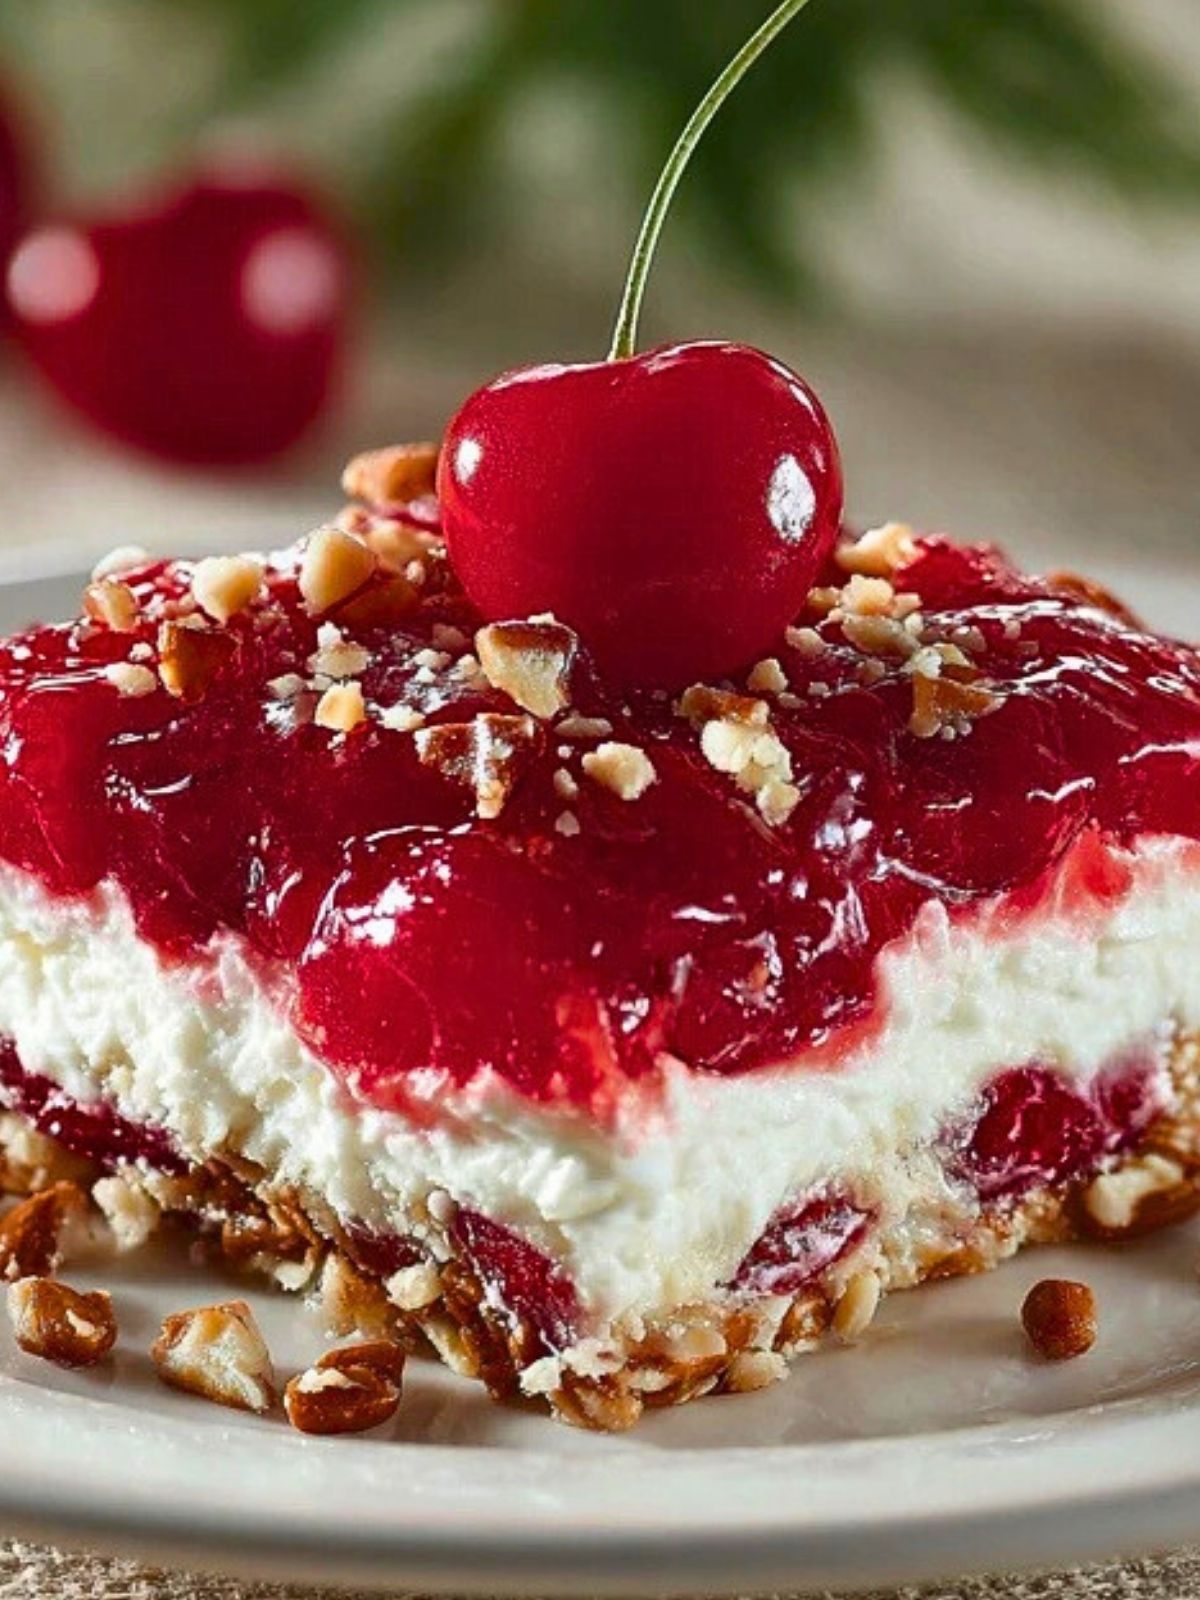
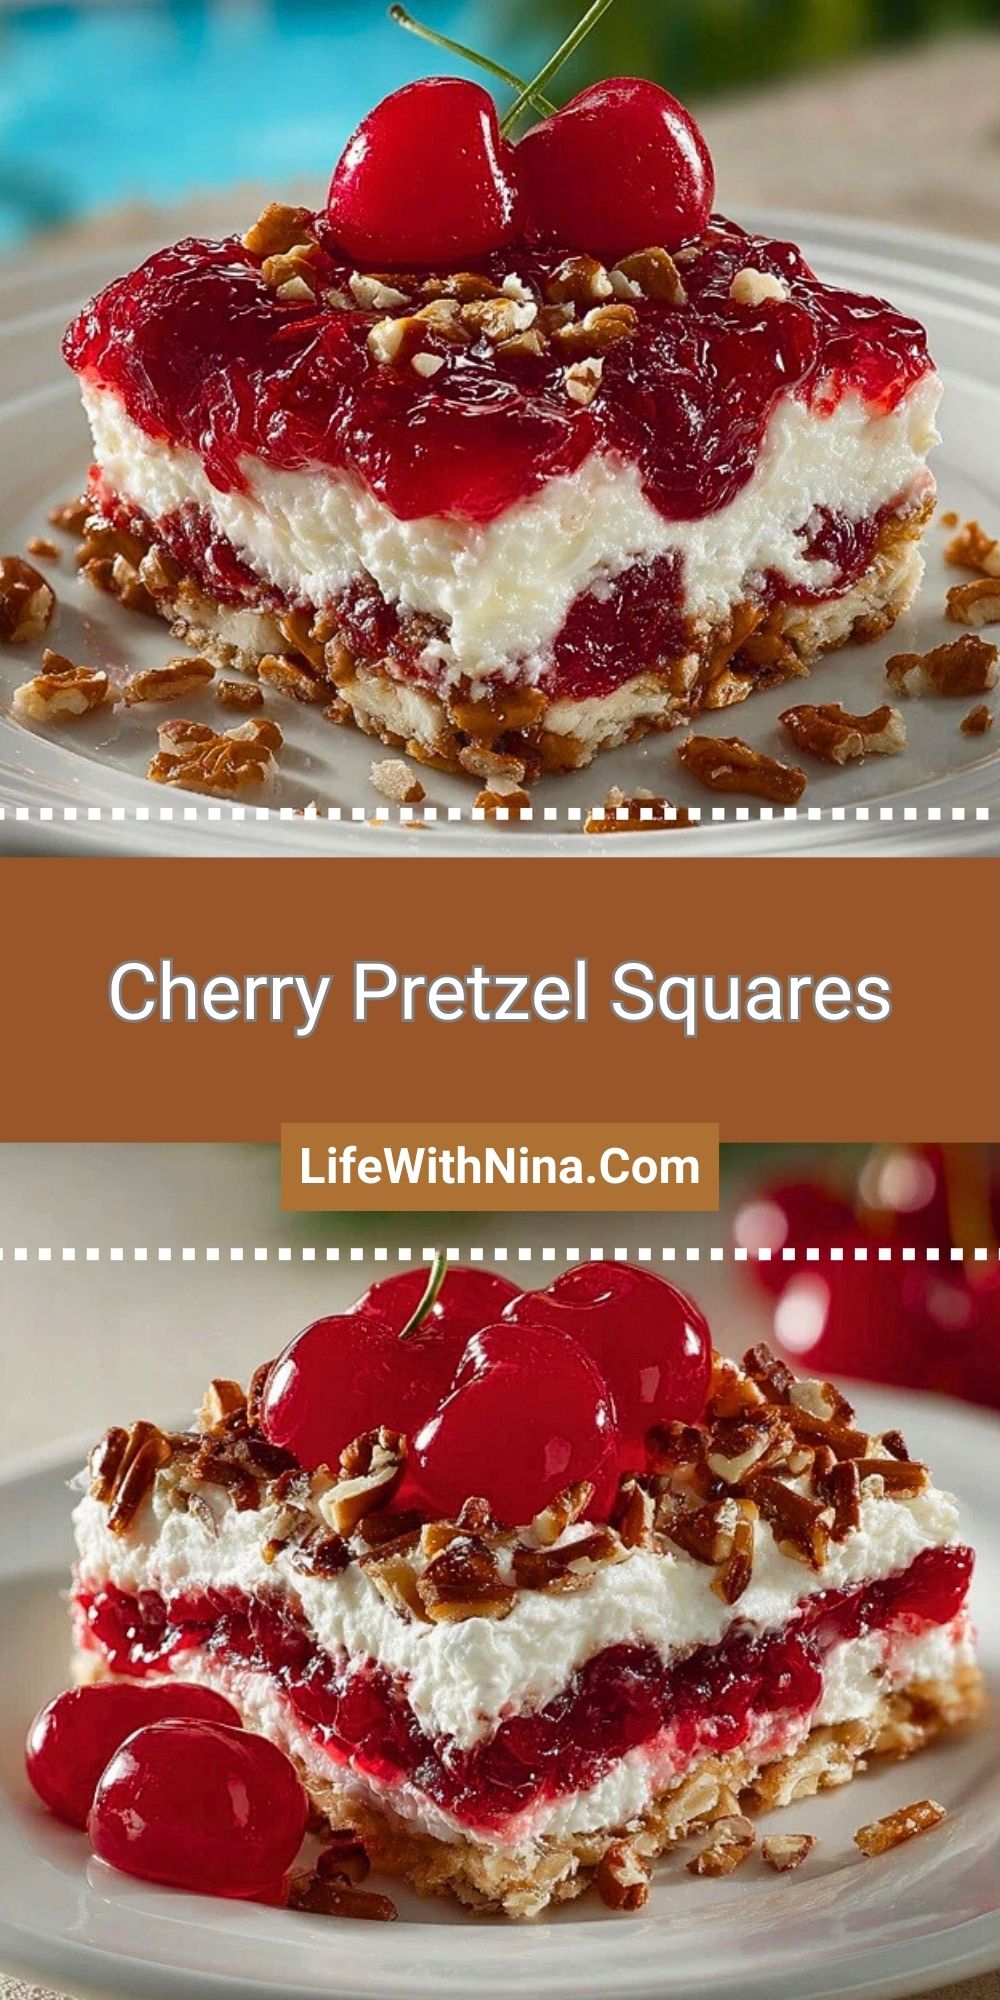
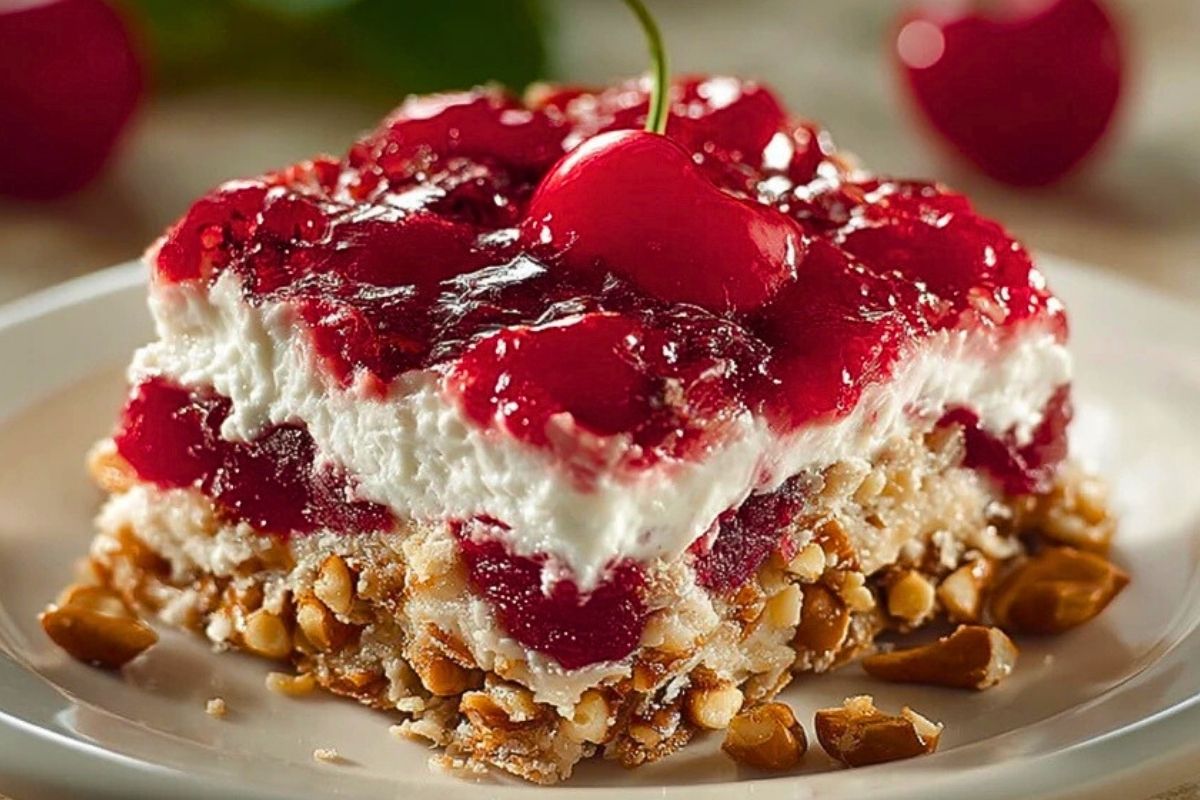
Cherry Pretzel Squares are the perfect trifecta of sweet, salty, and creamy. With a crunchy pretzel crust, fluffy cream cheese filling, and tangy cherry topping, these dessert bars are a nostalgic bite of summer gatherings and holiday potlucks. They’re easy to make, require no baking, and the flavor combo is one that keeps everyone coming back for seconds.
This crowd-pleaser is a twist on the classic strawberry pretzel salad, swapping strawberries for vibrant cherries to add that extra pop of tart fruitiness. Whether you’re planning a backyard cookout or simply need a quick make-ahead treat, these Cherry Pretzel Squares deliver comfort with every bite.
What Kind of Pretzels Work Best for Cherry Pretzel Squares?
The best pretzels to use for this dessert are small salted pretzels—either twists or sticks. They crush down easily and give that essential salty crunch to balance the sweetness of the creamy layer and cherry topping. Avoid flavored or unsalted pretzels, as they won’t provide that satisfying salty-sweet contrast this dessert is known for.

Ingredients for the Cherry Pretzel Squares
Salted Pretzels – Crushed to form the base crust, they bring the salty crunch that complements the sweet layers.
Unsalted Butter – Melted to bind the pretzel crust together and add richness.
Granulated Sugar – Used in both the crust and cream cheese layer for sweetness and texture.
Cream Cheese – Softened to create a smooth, tangy filling that’s the heart of the dessert.
Whipped Topping (like Cool Whip) – Lightens the cream cheese mixture and adds fluffiness.
Cherry Pie Filling – The glossy, ruby-red topping that gives these bars their signature fruity finish.
Chopped Pecans (optional) – Sprinkled on top for added texture and nutty flavor.
How To Make the Cherry Pretzel Squares
Step 1: Prep the Pretzel Crust
Preheat your oven to 350°F (175°C). Crush about 2 cups of salted pretzels in a zip-top bag using a rolling pin, or pulse in a food processor until coarse crumbs form. Mix with melted unsalted butter and granulated sugar. Press this mixture firmly into the bottom of a 9×13-inch baking dish. Bake for 10 minutes, then let it cool completely.
Step 2: Whip Up the Cream Cheese Filling
In a large bowl, beat softened cream cheese and sugar until smooth and fluffy. Fold in the whipped topping gently to keep the texture light and airy. Once the crust is fully cooled, spread the cream cheese mixture evenly over it, making sure to seal the edges so the topping doesn’t seep down.
Step 3: Layer on the Cherries
Open your cherry pie filling and gently spoon it over the cream cheese layer. Use a spatula to spread it out evenly, being careful not to mix it into the layer below.
Step 4: Chill and Set
Refrigerate the assembled dessert for at least 4 hours, or overnight if you have the time. This allows all the layers to set perfectly and enhances the overall flavor and texture.
Step 5: Add Final Touches
Before serving, sprinkle chopped pecans on top if desired for an extra crunch and nutty finish. Slice into squares and enjoy your salty-sweet, creamy, fruity masterpiece!
How to Serve and Store Cherry Pretzel Squares
Cherry Pretzel Squares are best served chilled, straight from the refrigerator. The layers hold together beautifully when cold, making it easy to slice clean squares. They’re ideal for potlucks, family gatherings, and summer celebrations because they can be made ahead and served with minimal fuss.
To store, cover the dish tightly with plastic wrap or transfer leftovers to an airtight container. Keep them refrigerated for up to 4 days. While freezing isn’t recommended due to the cream cheese layer, you can make the crust and freeze it in advance to save time.
Frequently Asked Questions
Can I use homemade whipped cream instead of Cool Whip?
Yes, you can substitute homemade whipped cream if you prefer. Just make sure it’s whipped to stiff peaks to maintain structure.
What’s the best way to crush pretzels for the crust?
A food processor works best for even crumbs, but you can also use a rolling pin and zip-top bag for a more rustic texture.
Can I make this recipe gluten-free?
Absolutely! Just swap the pretzels with your favorite gluten-free brand.
Is there a way to reduce the sweetness?
Yes—cut back a bit on the sugar in the cream cheese layer or use a tart cherry filling instead of sweetened pie filling.
Can I make this a day ahead?
Definitely! In fact, making it the night before allows the layers to firm up for cleaner slices and better flavor melding.
Can I use another fruit topping?
Of course! Blueberry, strawberry, or even raspberry pie filling all work beautifully with this base.
Want More Dessert Bar Ideas with a Twist?
If Cherry Pretzel Squares hit the sweet spot, you’ll love these other delightful and creative treats from the blog:
• Strawberry Cheesecake Banana Pudding is creamy, fruity, and layered to perfection.
• Pistachio Pudding Sugar Cookie Bars bring a fun, colorful crunch to dessert tables.
• Blueberry Swirl Yogurt Bites are perfect for a refreshing, lighter bite.
• No Bake Easy Cherry Chocolate Chip Pie if you’re loving cherries and want another no-bake win.
• Strawberry Cheesecake Donut Holes for when you’re craving handheld indulgence.
Save This Pin + Share Your Results
📌 Save this recipe to your Pinterest dessert board so you can come back to it anytime: Life with Nina Pinterest.
And let me know in the comments how yours turned out. Did you try a different pie filling? Did you go with homemade whipped cream or classic Cool Whip?
I love hearing how you make these recipes your own. Don’t hesitate to drop a question if you need help—we’re in this kitchen adventure together!
Cherry Pretzel Squares
- Prep Time: 20 minutes
- Cook Time: 10 minutes
- Total Time: 30 minutes (plus chilling)
- Yield: 12 to 16 squares 1x
- Category: Dessert
- Method: No-Bake (with baked crust)
- Cuisine: American
- Diet: Vegetarian
Description
These Cherry Pretzel Squares are the perfect no-bake dessert with a crunchy pretzel crust, creamy cheesecake-style center, and a tangy cherry topping. A favorite for potlucks, summer BBQs, and holidays, they deliver the ultimate balance of salty, sweet, and creamy in every bite.
Ingredients
2 cups crushed salted pretzels
3/4 cup unsalted butter, melted
3 tablespoons granulated sugar (for crust)
8 ounces cream cheese, softened
1/2 cup granulated sugar (for filling)
8 ounces whipped topping (like Cool Whip)
1 can (21 ounces) cherry pie filling
1/4 cup chopped pecans (optional)
Instructions
1. Preheat oven to 350°F (175°C).
2. Crush salted pretzels using a food processor or in a zip-top bag with a rolling pin.
3. Combine crushed pretzels, melted butter, and 3 tablespoons sugar.
4. Press mixture into a 9×13-inch baking dish to form the crust.
5. Bake crust for 10 minutes, then cool completely.
6. Beat softened cream cheese with 1/2 cup sugar until fluffy.
7. Gently fold in the whipped topping until smooth and airy.
8. Spread cream cheese mixture over cooled crust, sealing all edges.
9. Spoon cherry pie filling evenly over the cream cheese layer.
10. Refrigerate for at least 4 hours or overnight.
11. Before serving, sprinkle chopped pecans on top (if using).
12. Slice into squares and serve chilled.
Notes
Let the crust cool fully before layering the filling to prevent melting.
Be sure to seal the cream cheese layer fully to keep the cherry topping from seeping down.
Chill thoroughly for the cleanest slices and best flavor.
Nutrition
- Serving Size: 1 square
- Calories: 310
- Sugar: 18g
- Sodium: 220mg
- Fat: 20g
- Saturated Fat: 11g
- Unsaturated Fat: 7g
- Trans Fat: 0g
- Carbohydrates: 29g
- Fiber: 1g
- Protein: 3g
- Cholesterol: 40mg
Keywords: cherry dessert, cream cheese bars, pretzel crust, no bake