
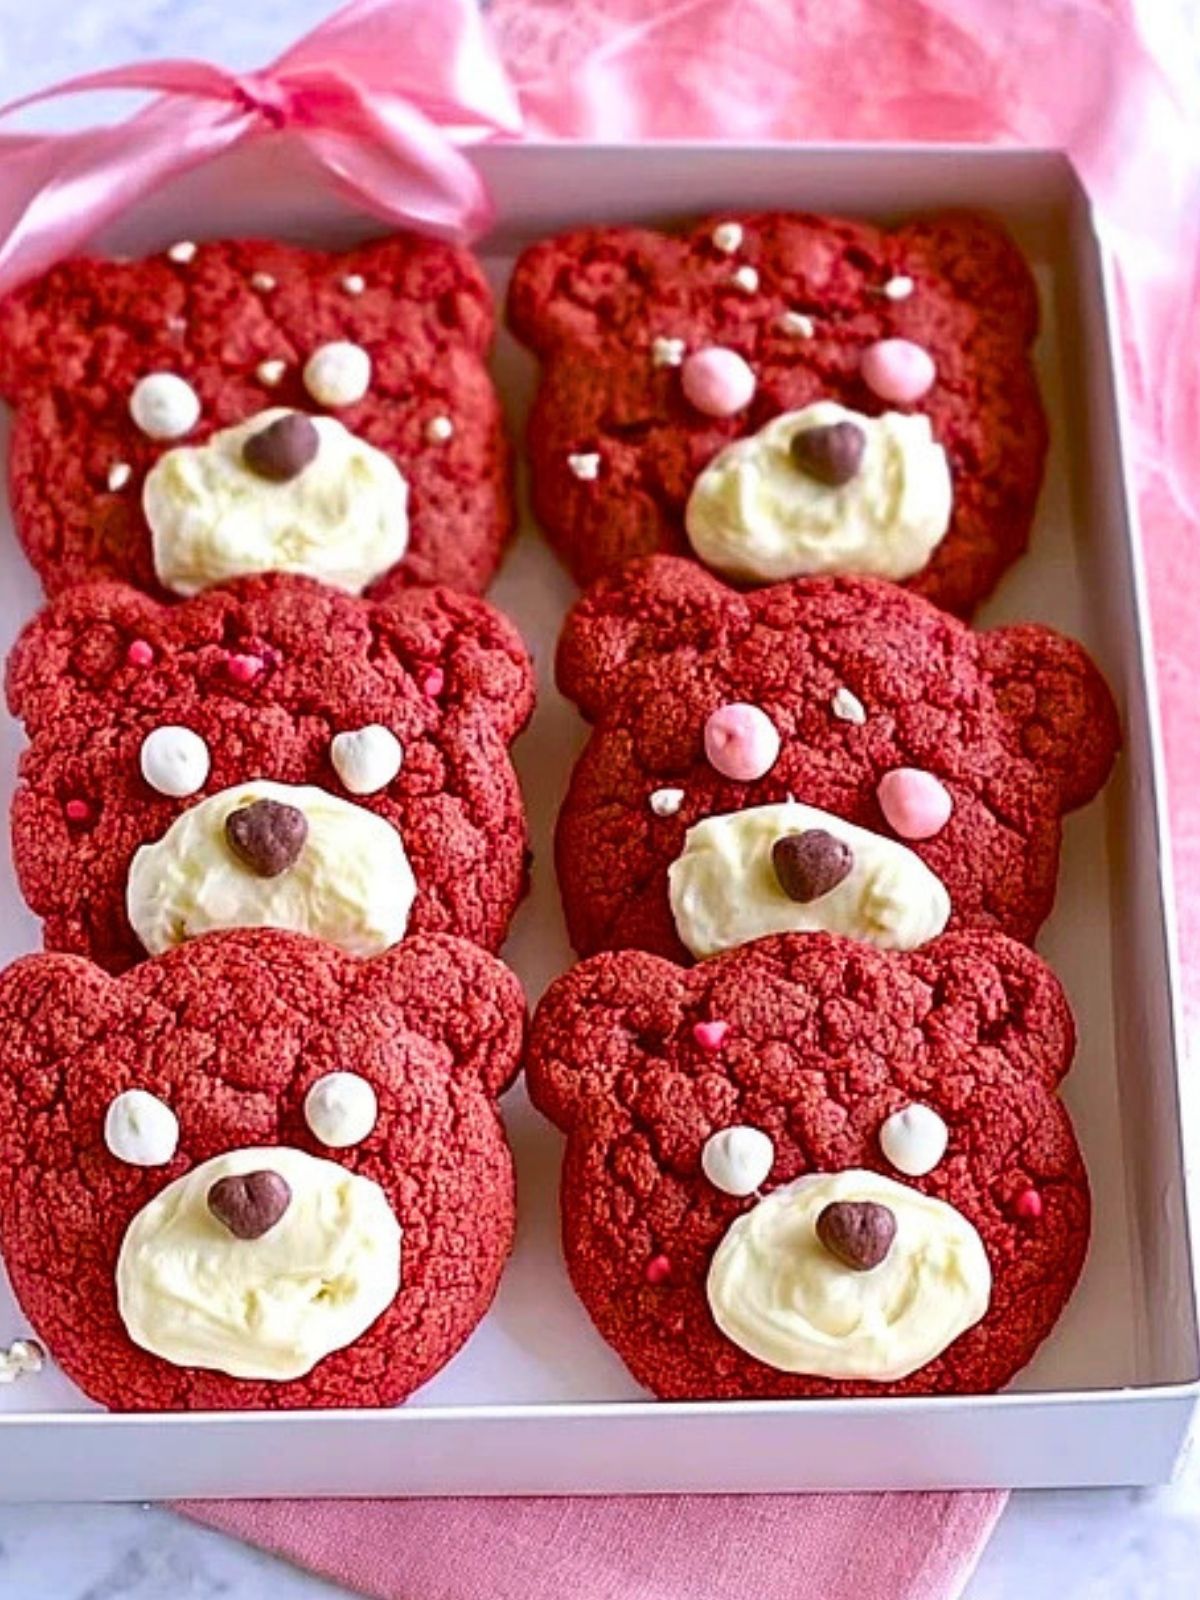
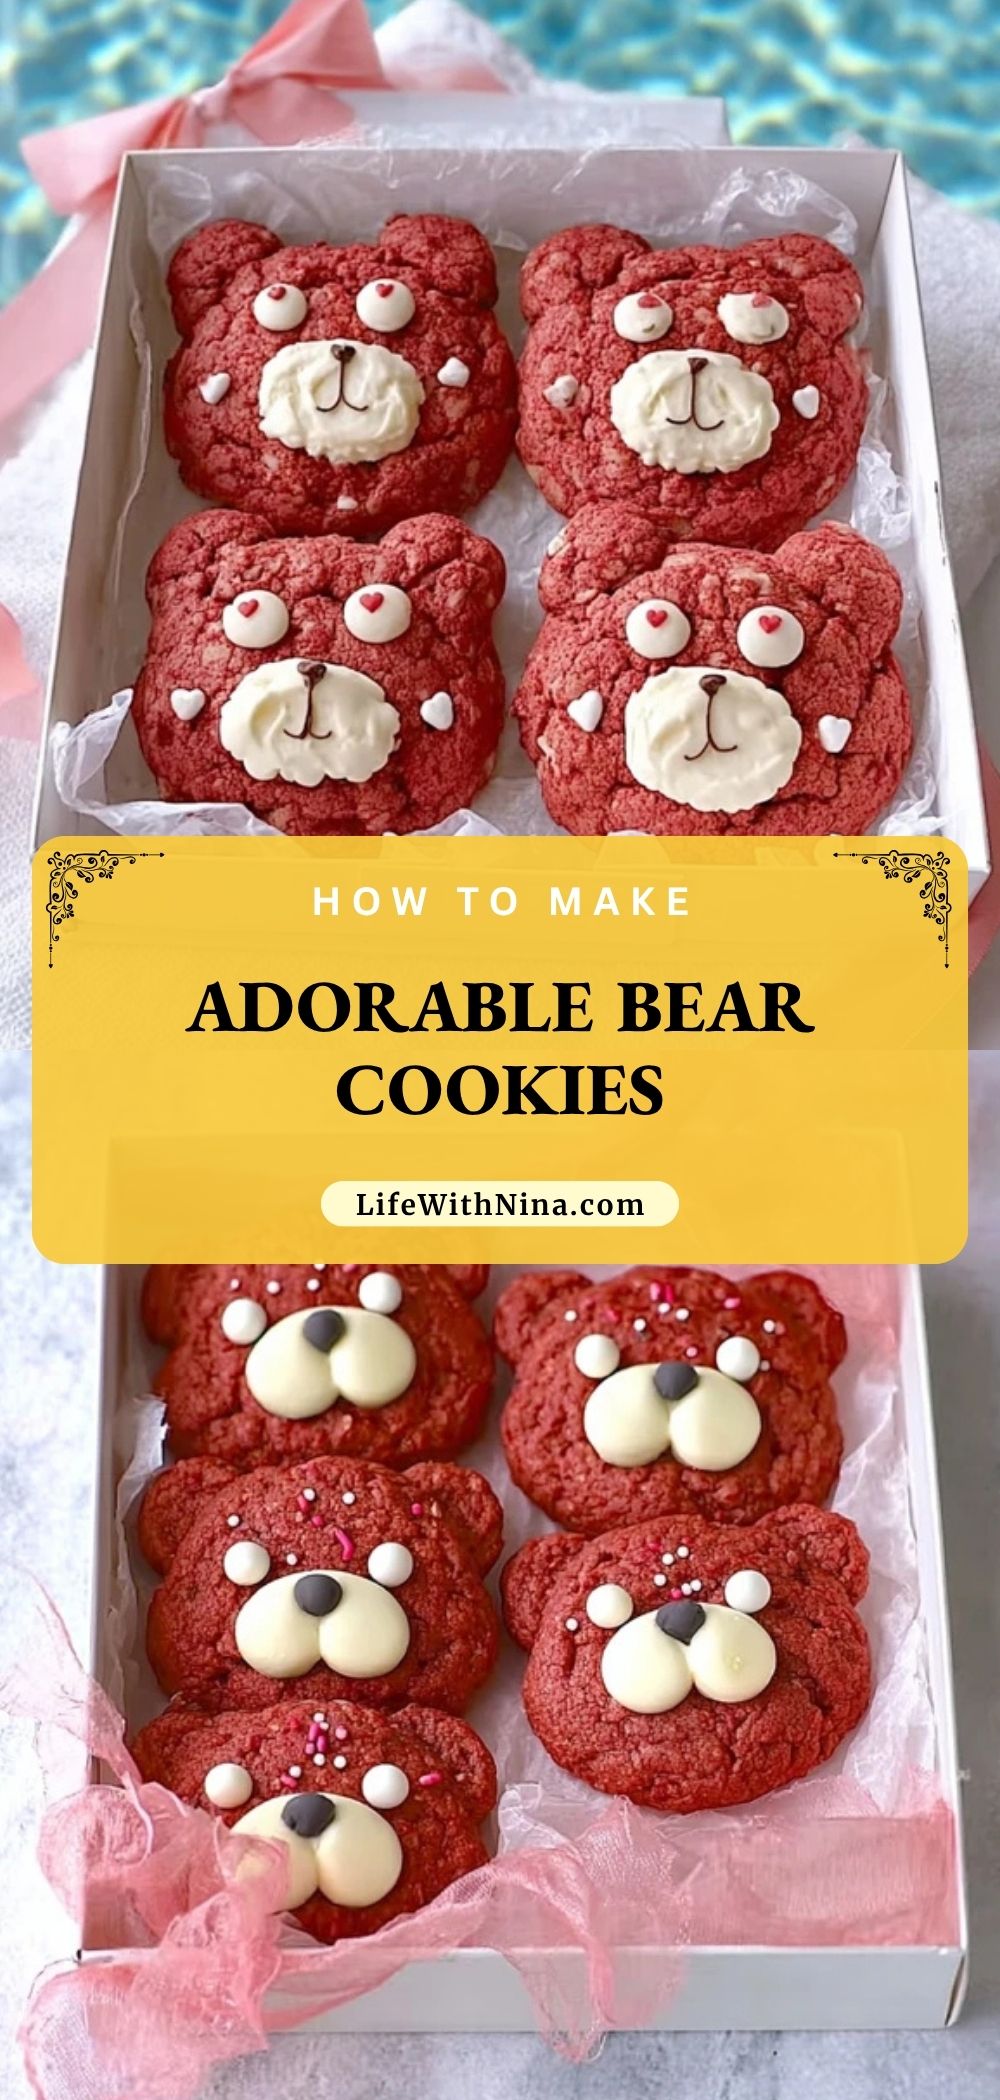
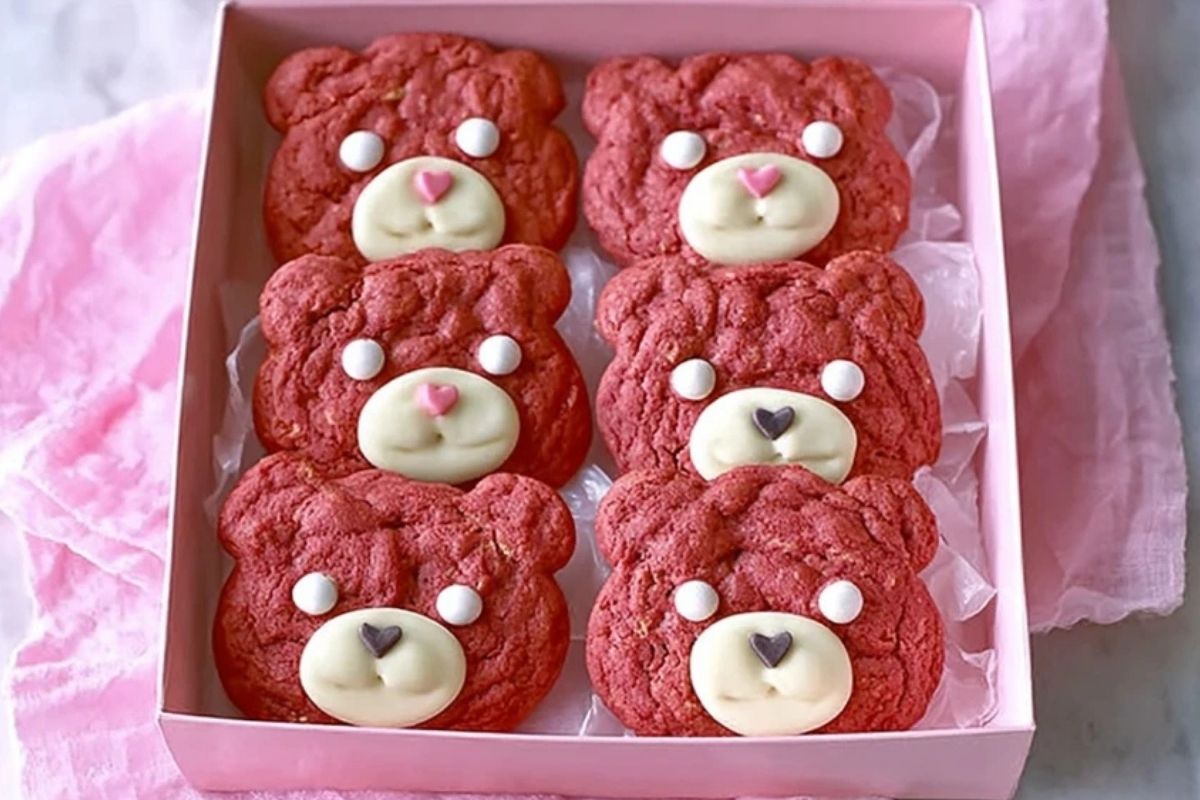
These Adorable Bear Cookies are the kind of sweet treat that instantly makes people smile. With their soft red velvet cookie base, creamy little snouts, and candy details, they look bakery-worthy but are surprisingly simple to make at home.
They are perfect for Valentine’s Day, birthdays, baby showers, holiday dessert trays, or any time you want a cookie that feels extra special. The bright color, soft texture, and cute bear faces make them just as fun to decorate as they are to eat.
What Makes Adorable Bear Cookies So Cute and Fun to Bake?
Adorable Bear Cookies stand out because they combine a soft, chewy cookie with playful decorating. The rounded ears, piped snout, and tiny candy details turn a simple cookie dough into a dessert that feels creative and memorable. They are ideal when you want something homemade that still has a wow factor.
They are also beginner-friendly. You do not need advanced cookie decorating skills to make them look charming. As long as you shape the ears before baking and add the decorations once the cookies cool, you can create a tray full of sweet little bears with ease.

Ingredients for the Adorable Bear Cookies
Each ingredient in these Adorable Bear Cookies helps create the soft texture, rich flavor, and adorable finish that makes them so irresistible.
Red velvet cake mix
This gives the cookies their vibrant color and classic cocoa-vanilla flavor while keeping the dough easy to prepare.
All-purpose flour
A little extra flour helps the dough hold its shape so the ears stay more defined while baking.
Unsalted butter
Butter adds richness and helps create a soft, tender cookie texture.
Eggs
Eggs bind the dough together and give the cookies structure.
Vanilla extract
Vanilla rounds out the flavor and adds warmth to both the cookie base and the frosting.
Cream cheese
Cream cheese creates a smooth, tangy frosting that pairs perfectly with red velvet flavor.
Powdered sugar
This sweetens the frosting and gives it a fluffy, pipeable consistency.
Milk
A small splash of milk helps loosen the frosting so it spreads or pipes easily onto each bear face.
White candy melts or white chocolate chips
These can be used for the eyes or extra decorative accents that make the faces pop.
Chocolate chips
Chocolate chips work beautifully as tiny noses in the center of each snout.
Pink candy pearls or sprinkles
These add a playful touch for cheeks, ears, or extra charm on each cookie.
How To Make the Adorable Bear Cookies
These Adorable Bear Cookies come together in a few easy stages: mixing the dough, shaping the bear faces, baking, and decorating after cooling.
Step 1: Prep the Baking Sheets
Line two baking sheets with parchment paper and preheat your oven to 350°F. This helps the cookies bake evenly and makes cleanup easier.
Step 2: Mix the Cookie Dough
In a large bowl, combine the red velvet cake mix, all-purpose flour, melted butter, eggs, and vanilla extract. Stir until a thick dough forms and everything is fully incorporated.
Step 3: Shape the Bear Faces
Scoop large portions of dough onto the prepared baking sheets for the bear heads. Add two smaller dough balls at the top sides of each head to create the ears. Gently press the ear pieces onto the head so they bake together.
Step 4: Bake Until Set
Bake for 9 to 11 minutes, or until the centers are just set. The cookies should look soft in the middle but no longer glossy. Let them cool on the pan for several minutes before moving them to a wire rack.
Step 5: Make the Cream Cheese Frosting
Beat the cream cheese until smooth, then mix in the powdered sugar, vanilla extract, and a little milk until the frosting is creamy and spreadable.
Step 6: Add the Bear Faces
Once the cookies are completely cool, spoon or pipe an oval of frosting onto the lower center of each cookie for the snout. Add candy eyes above the snout, place a chocolate chip in the middle for the nose, and finish with pink candy pearls or sprinkles for extra detail.
Step 7: Let the Decorations Set
Allow the decorated cookies to rest for a few minutes so the frosting settles in place before serving or storing.
Serving and Storing Adorable Bear Cookies
These Adorable Bear Cookies are best served once the frosting has set but while the cookies are still soft and fresh. They make a beautiful addition to dessert boxes, party platters, lunchbox treats, or themed holiday trays.
Store the cookies in a single layer or between sheets of parchment in an airtight container in the refrigerator for up to 4 days because of the cream cheese frosting. For the best texture, let them sit at room temperature for 10 to 15 minutes before serving. You can also freeze the undecorated cookies and add the frosting and candy details later.
Frequently Asked Questions
Can I make Adorable Bear Cookies ahead of time?
Yes. You can bake the cookies a day or two ahead, then decorate them once they are fully cooled and ready to serve.
Do I have to use red velvet cake mix?
No. You can use chocolate, vanilla, or strawberry cake mix if you want a different flavor or color, though the red velvet look is especially eye-catching.
How do I keep the bear ears from spreading too much?
Adding a bit of extra flour helps, and chilling the dough for 15 to 20 minutes before baking can also help the shapes stay more defined.
Can I use store-bought frosting?
Yes. Store-bought frosting works well if you want to save time, though homemade cream cheese frosting gives the cookies a richer flavor.
What is the best way to decorate the faces?
Keep it simple. Use a frosted oval for the snout, two small candies for the eyes, and one chocolate chip for the nose. Even basic decorating makes them look adorable.
Can kids help make these cookies?
Absolutely. Kids usually love shaping the ears and adding the faces, which makes this recipe especially fun for family baking days.
Want More Cookie Ideas?
If you love these Adorable Bear Cookies, you’ll probably enjoy these other sweet favorites from Life with Nina:
- Cotton Candy Cookies for a colorful and playful treat.
- Maraschino Cherry Chocolate Chip Cookies for a fruity twist on a classic cookie.
- Lemon Oatmeal No-Bake Cookies when you want something bright and easy.
- Whipped Shortbread Cookies for a buttery, melt-in-your-mouth cookie option.
- Soft and Chewy Oatmeal Chocolate Chip Cookies when you are craving a cozy homemade favorite.
Save This Pin + Share Your Results
📌 Save these Adorable Bear Cookies to your Pinterest dessert board so you can come back to them any time.
And let me know how yours turned out. Did you keep them classic with cream cheese frosting, or did you add your own candy decorations and color ideas?
I love seeing how each baker makes these cookies their own. For even more fun recipe inspiration, visit Life with Nina on Pinterest and save more sweet ideas for later.
Adorable Bear Cookies
- Prep Time: 20 minutes
- Cook Time: 10 minutes
- Total Time: 30 minutes
- Yield: 12 cookies 1x
- Category: Dessert
- Method: Baking
- Cuisine: American
Description
These Adorable Bear Cookies are a fun and easy dessert idea that turns a simple batch of red velvet cookies into the cutest sweet treat. Soft, chewy, and topped with creamy frosting and candy details, they are perfect for party desserts, holiday baking, Valentine’s Day treats, easy recipe ideas, and fun food ideas when you want something playful and delicious.
Ingredients
1 box red velvet cake mix
1/4 cup all-purpose flour
1/2 cup unsalted butter, melted
2 large eggs
1 teaspoon vanilla extract
4 ounces cream cheese, softened
1 cup powdered sugar
1 to 2 tablespoons milk
12 white candy melts or candy eyes
12 chocolate chips
Pink candy pearls or sprinkles, as needed
Instructions
1. Preheat the oven to 350°F and line two baking sheets with parchment paper.
2. In a large bowl, mix the red velvet cake mix, all-purpose flour, melted butter, eggs, and vanilla extract until a thick dough forms.
3. Scoop 12 large portions of dough onto the baking sheets for the bear heads. Add two smaller dough balls at the top sides of each one to form the ears, then gently press them in place.
4. Bake for 9 to 11 minutes, until the cookies are set around the edges and soft in the center.
5. Let the cookies cool on the pan for 5 minutes, then transfer them to a wire rack to cool completely.
6. In a medium bowl, beat the cream cheese, powdered sugar, and 1 tablespoon milk until smooth. Add a little more milk if needed for a soft, spreadable frosting.
7. Spoon or pipe an oval of frosting onto the lower center of each cookie to make the snout.
8. Add the candy eyes above the snout, place a chocolate chip in the center for the nose, and finish with pink candy pearls or sprinkles.
9. Let the decorated cookies rest for a few minutes before serving.
Notes
Chill the dough for 15 minutes if you want the bear ears to hold their shape better.
Make sure the cookies are fully cool before adding the frosting so the faces stay neat.
For the cleanest look, use a small spoon or piping bag to shape the snouts evenly.
Nutrition
- Serving Size: 1 cookie
- Calories: 265
- Sugar: 24g
- Sodium: 260mg
- Fat: 11g
- Saturated Fat: 6g
- Unsaturated Fat: 4g
- Trans Fat: 0g
- Carbohydrates: 39g
- Fiber: 1g
- Protein: 3g
- Cholesterol: 46mg
Keywords: adorable bear cookies, red velvet cookies, cute cookies, easy dessert, holiday baking, Valentine’s Day treats, party desserts, fun food ideas